Sort by Category
- October 2025
- September 2025
- August 2025
- June 2025
- August 2024
- July 2024
- June 2024
- May 2024
- February 2024
- January 2024
- December 2023
- November 2023
- October 2023
- September 2023
- August 2023
- July 2023
- March 2023
- February 2023
- January 2023
- December 2022
- November 2022
- October 2022
- September 2022
- August 2022
- June 2022
- May 2022
- April 2022
- March 2022
- February 2022
- January 2022
- December 2021
- November 2021
- October 2021
- September 2021
- August 2021
- July 2021
- June 2021
- May 2021
- April 2021
- March 2021
- February 2021
- January 2021
- December 2020
- November 2020
- October 2020
- September 2020
- August 2020
- July 2020
- June 2020
- May 2020
- April 2020
- March 2020
- February 2020
- January 2020
- December 2019
- November 2019
- October 2019
- September 2019
- August 2019
- July 2019
- June 2019
- May 2019
- April 2019
- March 2019
- February 2019
- January 2019
- December 2018
- November 2018
- October 2018
- September 2018
- August 2018
- July 2018
- June 2018
- May 2018
- April 2018
- March 2018
- February 2018

Harvest Stuffed Acorn Squash
Harvest stuffed acorn squash is an ideal autumn comfort dish that is rich in protein, features seasonal ingredients, and requires minimal kitchen tools!
Harvest stuffed acorn squash is an ideal autumn comfort dish that is rich in protein, features seasonal ingredients, and requires minimal kitchen tools!


Servings: 4 Prep: 15 MIN Cook time: 55 MIN
Ingredients
For the squash:
2 acorn squash
4 tsp olive oil or olive/avocado spray
S+P
For the filling:
1 lb Italian sausage or chicken sausage
4 oz mushrooms (finely chopped)
1/2 small yellow onion (finely diced)
1 medium honeycrisp apple (finely diced) or 1/4 cup dried cranberries
1/2 tsp salt
1/4 tsp black pepper
1/4 tsp cinnamon
1/8 tsp allspice (optional)
2 cloves minced garlic (or 1 tsp garlic powder)
1 Tbsp fresh sage (chopped)
1/2 cup shredded parmesan cheese, divided
Directions
Preheat oven to 400 degrees and line a baking sheet with parchment paper.
To a medium skillet, heat oil over medium heat and sauté onion and peppers for about 5 minutes. Move sauté veggies to the side and add turkey sausage to the center, crumbling the meat. Let cook, stirring and crumbling meat until meat is completely browned, for about 10 minutes. Turn heat off and let mixture to cool.
In a large mixing bowl, whisk together eggs and yogurt. Add in turkey mixture and incorporate. Add in the rest of the dry ingredients: almond and coconut flour, nutritional yeast, baking powder, and seasonings using a spatula until combined.
Using ¼ - ½ cup or large cookie scoop, make 12 evenly sized balls and place them on the sheet pan. Place in the oven for 12-16 minutes until slightly browned all over.
Remove from the oven and let cool completely before storing in an airtight container in the fridge for up to 5 days.

How to Stay Consistent with Your Supplements While Traveling
Learn how to stay consistent with your supplement routine while traveling. Simple packing tips, travel hacks, and a free reel example inside!
One of the number one questions I get from clients when they’re on a supplement protocol is:
“How do I stay consistent when I’m traveling?”
It’s a great question—because staying on track with your supplements while on the road can feel overwhelming, especially if you’re on a structured protocol that shifts at certain points. After many trips (and a few trial-and-error moments), I’ve found a handful of strategies that make things much smoother. Here are my best tips for keeping your supplement routine simple and stress-free while traveling.
1. Print Out or Write Out Your Schedule
When you’re following a protocol—especially one that changes partway through—it’s easy to lose track. Printing or writing out your supplement schedule helps you know exactly what to take and when. Think of it as your travel checklist for supplements.
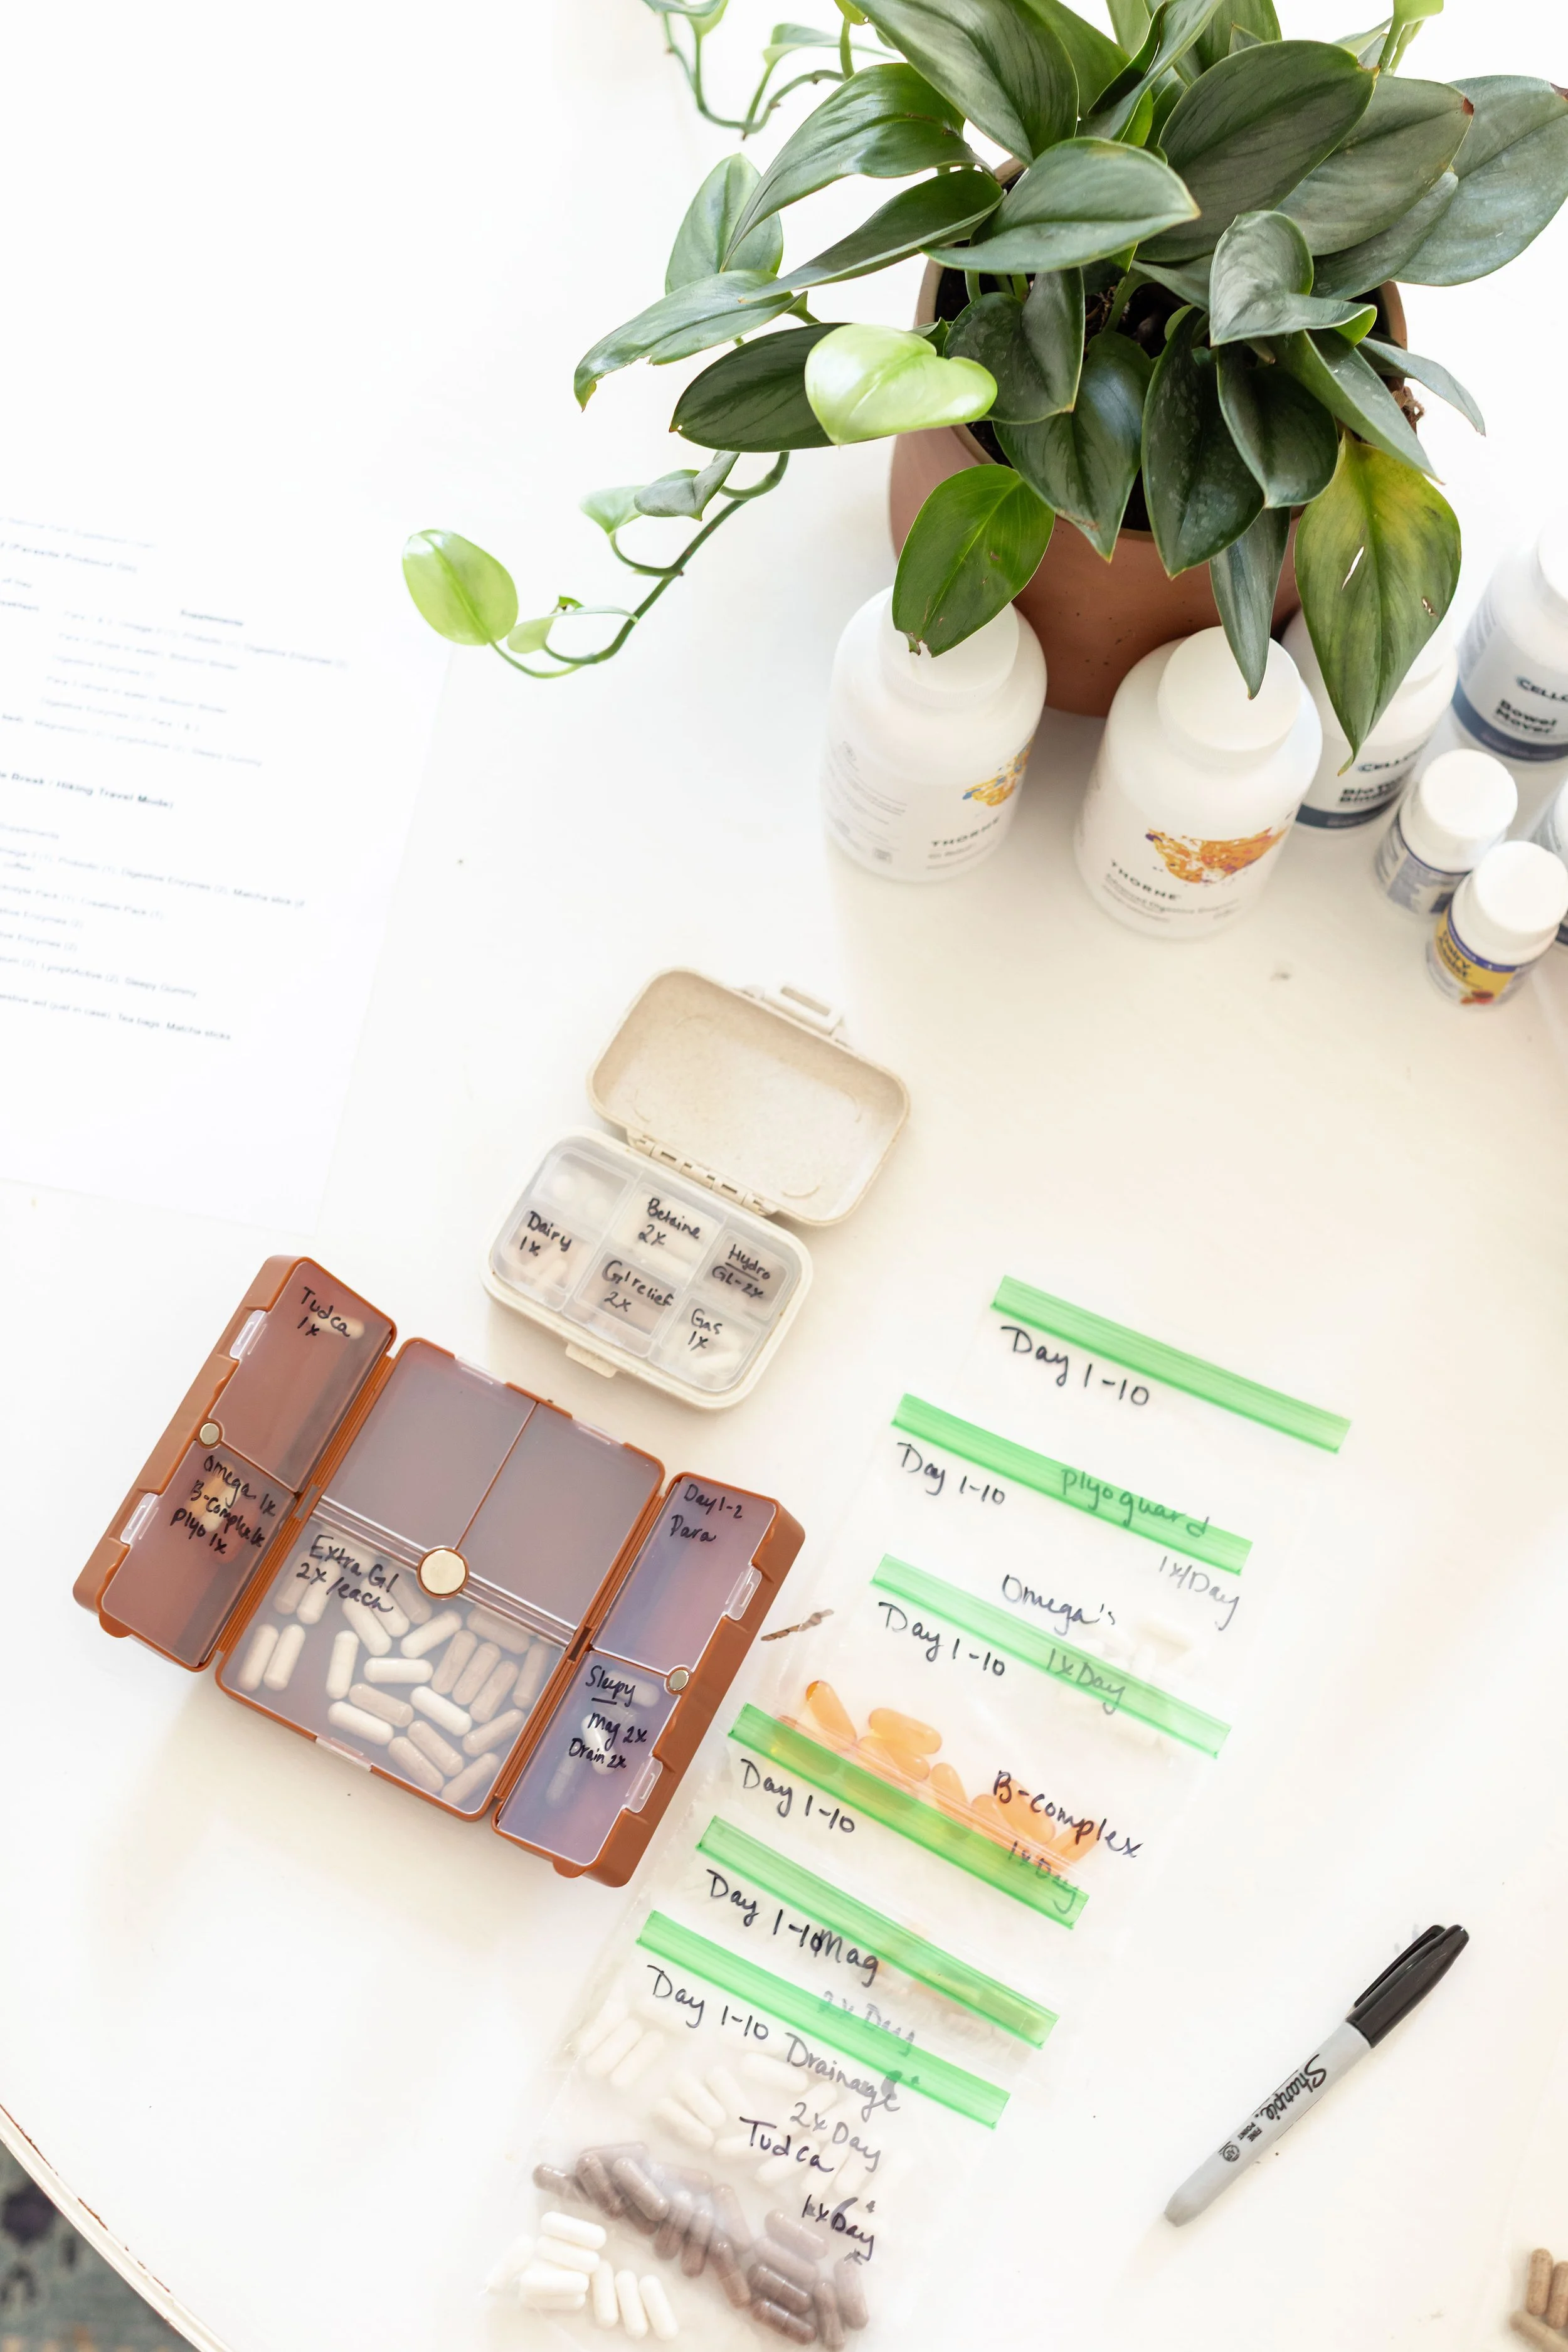
2. Use Sandwich Bags or a Pill Box
Pre-packing is key. I like to use small sandwich bags for each day with the dosage labeled, or a pill organizer box with clear labels. Both methods work—it just depends on your style.
👉 I even made a quick video summarizing how I do both.
3. Keep Digestive Support Separate
Digestive support is non-negotiable for me while traveling. I carry mine in a smaller pill box that easily slips into my bag. This way, I can pull it out at restaurants or on the go. If you need to, leave a few squares open for supplements or medications that must be taken with meals.
4. Bonus: Travel Packs & Extras
Travel-friendly packs make life so much easier. I love keeping electrolyte packets, teas, matcha sticks, and any other powders in one small organizer bag in my carry-on. It saves space and ensures I don’t forget the essentials that help me feel grounded on the road.
5. Don’t Forget Water + Reminders
The simplest habits are sometimes the easiest to forget. I always keep a reusable water bottle with me so I don’t miss a dose just because I don’t have water nearby. You can also set reminders or alarms on your phone to stay consistent with your supplement timing while you’re traveling.
Want to See My System in Action?
If you’d like to see a visual example of how I planned out my supplements for a trip to Glacier National Park, check out this reel here.
Let’s Work Together
Consistency looks different for everyone. If you’ve ever worked with me on nutrition services, or ordered through my Fullscript practitioner dispensary, you know I love creating simple, sustainable systems that actually work in real life.
If you’re curious about what supplement schedule might be best for your body, I’d love to connect with you. You can schedule a discovery call with me to talk through your unique needs and goals.

Nutrition Disclaimer
I am a Nutritional Therapy Practitioner. I do not diagnose, treat, or cure disease. The information shared here is for educational purposes only and is not a substitute for medical advice. Please consult your healthcare provider before beginning any new supplement or nutrition protocol.
Here are some other healthy travel related posts:

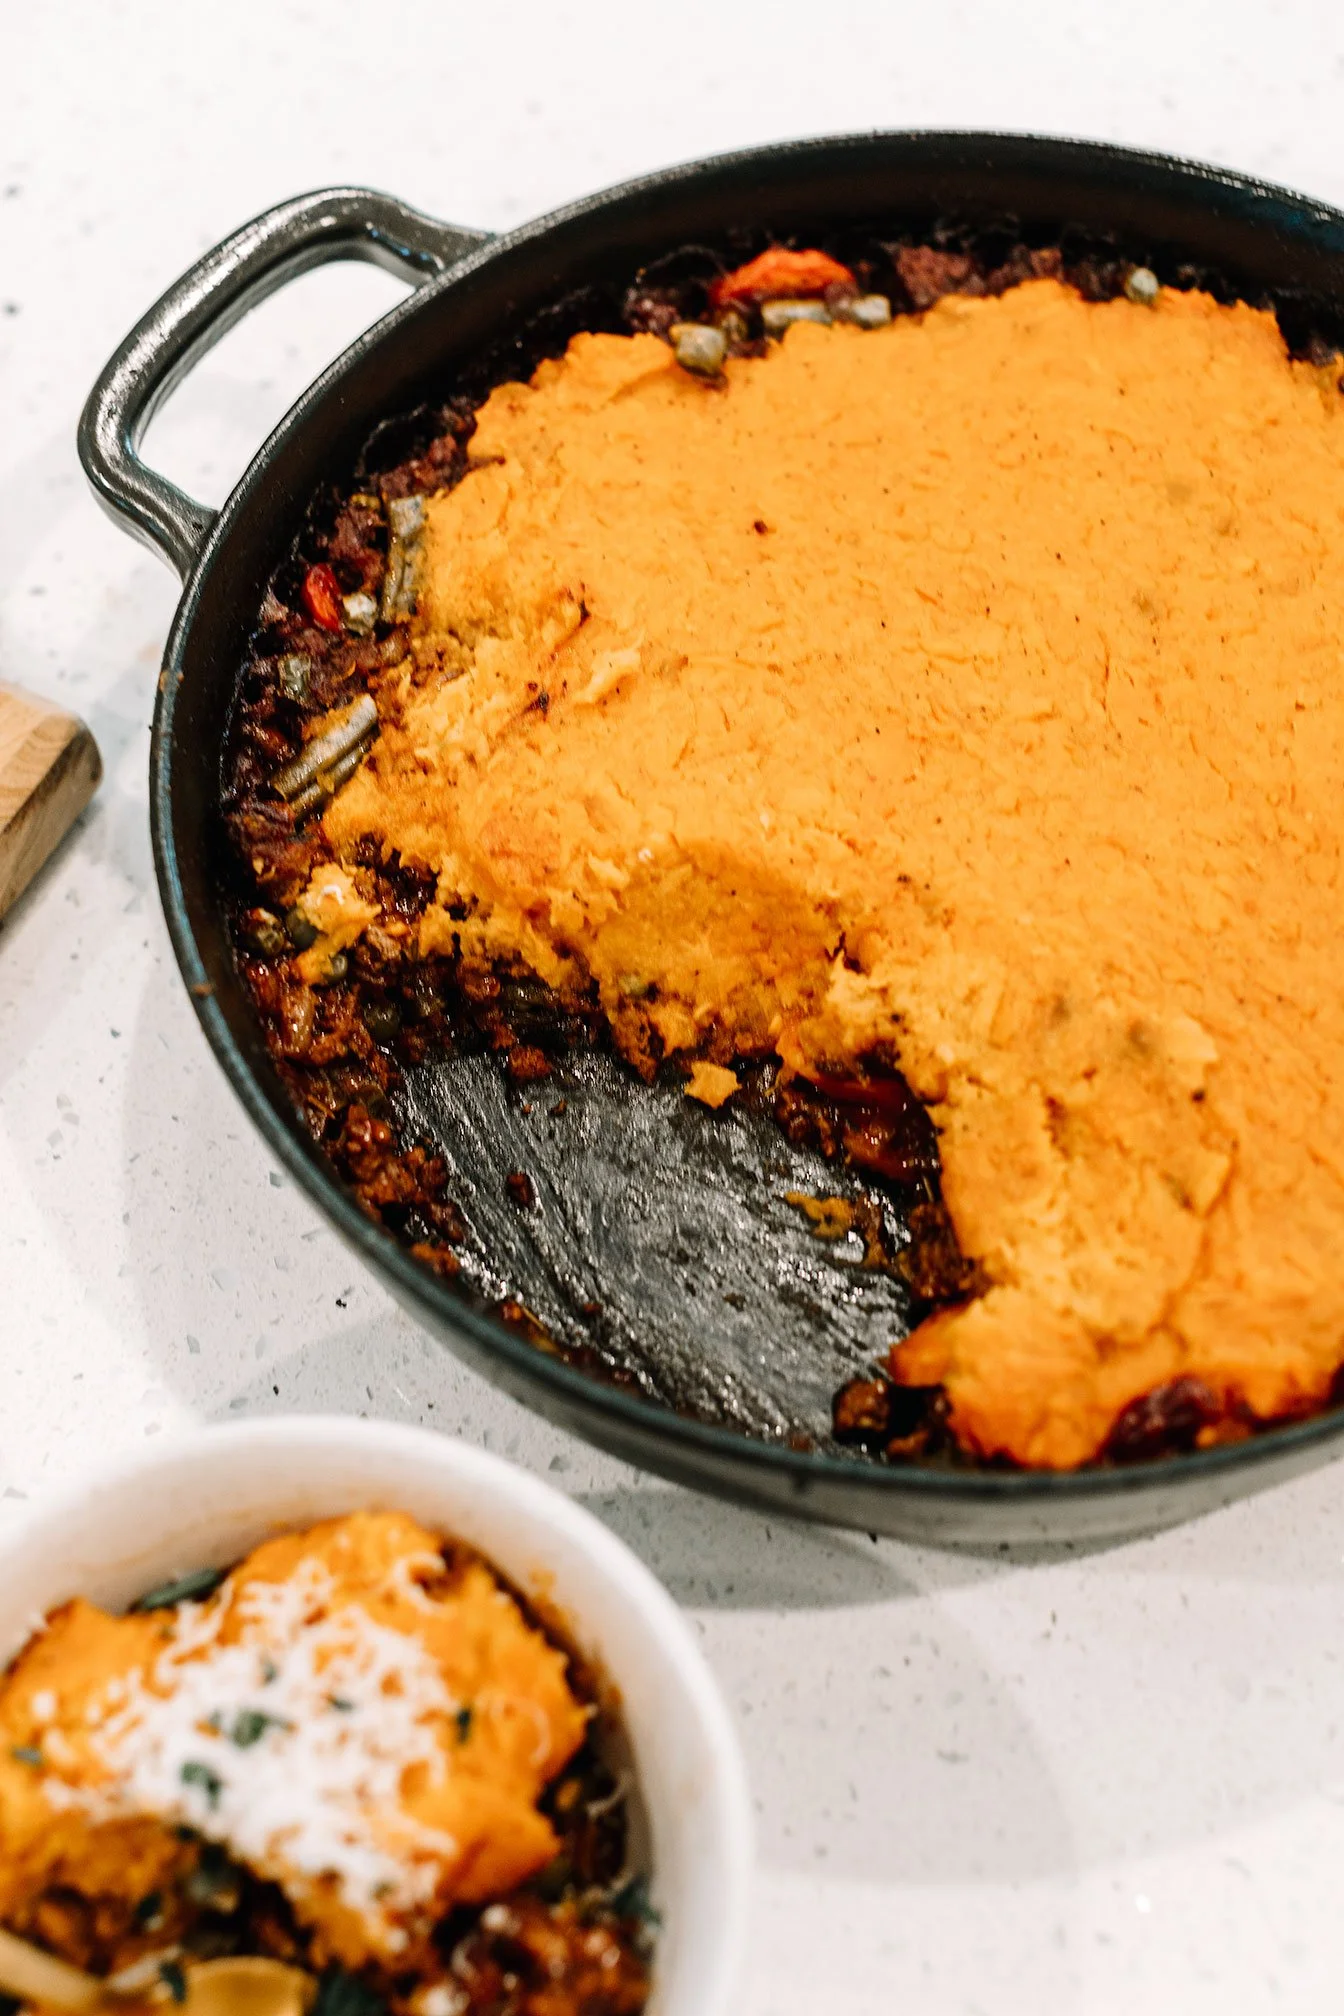
Healthy Sweet Potato Shepherd’s Pie (Technically Cottage Pie!)
This healthy sweet potato shepherd’s pie is gluten-free & dairy-free friendly! A cozy hormone-supporting meal, perfect for cycle syncing or family dinners.
This healthy shepherd’s pie (technically cottage pie!) uses ground beef, veggies, and a creamy sweet potato topping. Gluten-free & dairy-free friendly comfort food.

If you’re craving a warm, comforting meal that’s both nutrient-dense and family-approved, this Sweet Potato Shepherd’s Pie with ground beef and veggies is about to become a staple. It’s like shepherd’s pie meets a cozy fall casserole — but with a mineral-rich twist that supports hormone balance and energy.
This recipe is gluten-free and dairy-free friendly, making it perfect for anyone looking for a hearty, nourishing dinner without the heaviness of traditional casseroles.
💡 A quick note on naming: Traditionally, shepherd’s pie is made with lamb, while the beef version is technically called cottage pie. Since most people are more familiar with the term shepherd’s pie when it comes to beef, I’ve used that name here for easier recognition. But yes — if we’re being precise, this recipe is a cozy cottage pie with sweet potato topping.
🎥 Watch the Recipe in Action
I put together a quick reel walking you through this recipe step-by-step! Full disclosure: I filmed this during my period (hello, real life 👋), but that’s actually what makes this dish even more special — it’s loaded with nutrients that support your body during the menstrual phase.
Why This Recipe is Great for Your Menstrual Phase
If you’re into cycle syncing, you’ll love this:
Sweet potatoes are rich in slow-digesting carbs and vitamin A, which can help support stable energy and replenish nutrients lost during menstruation.
Beef and bone broth provide heme iron and zinc, helping to restore iron levels if you’re experiencing heavy bleeding.
Coconut aminos + veggies bring in minerals and antioxidants to fight fatigue and support detox pathways.

When you’re on your period, your body craves grounding, nourishing meals — and this casserole checks every box.
Tips for Success
Make ahead: Assemble the casserole up to 24 hours in advance, refrigerate, and bake when ready.
Customize your veggies: Don’t be afraid to toss in mushrooms, corn, or zucchini for extra variety.
Add protein variety: Swap ground beef for lamb or turkey depending on your taste (or hormone support needs).

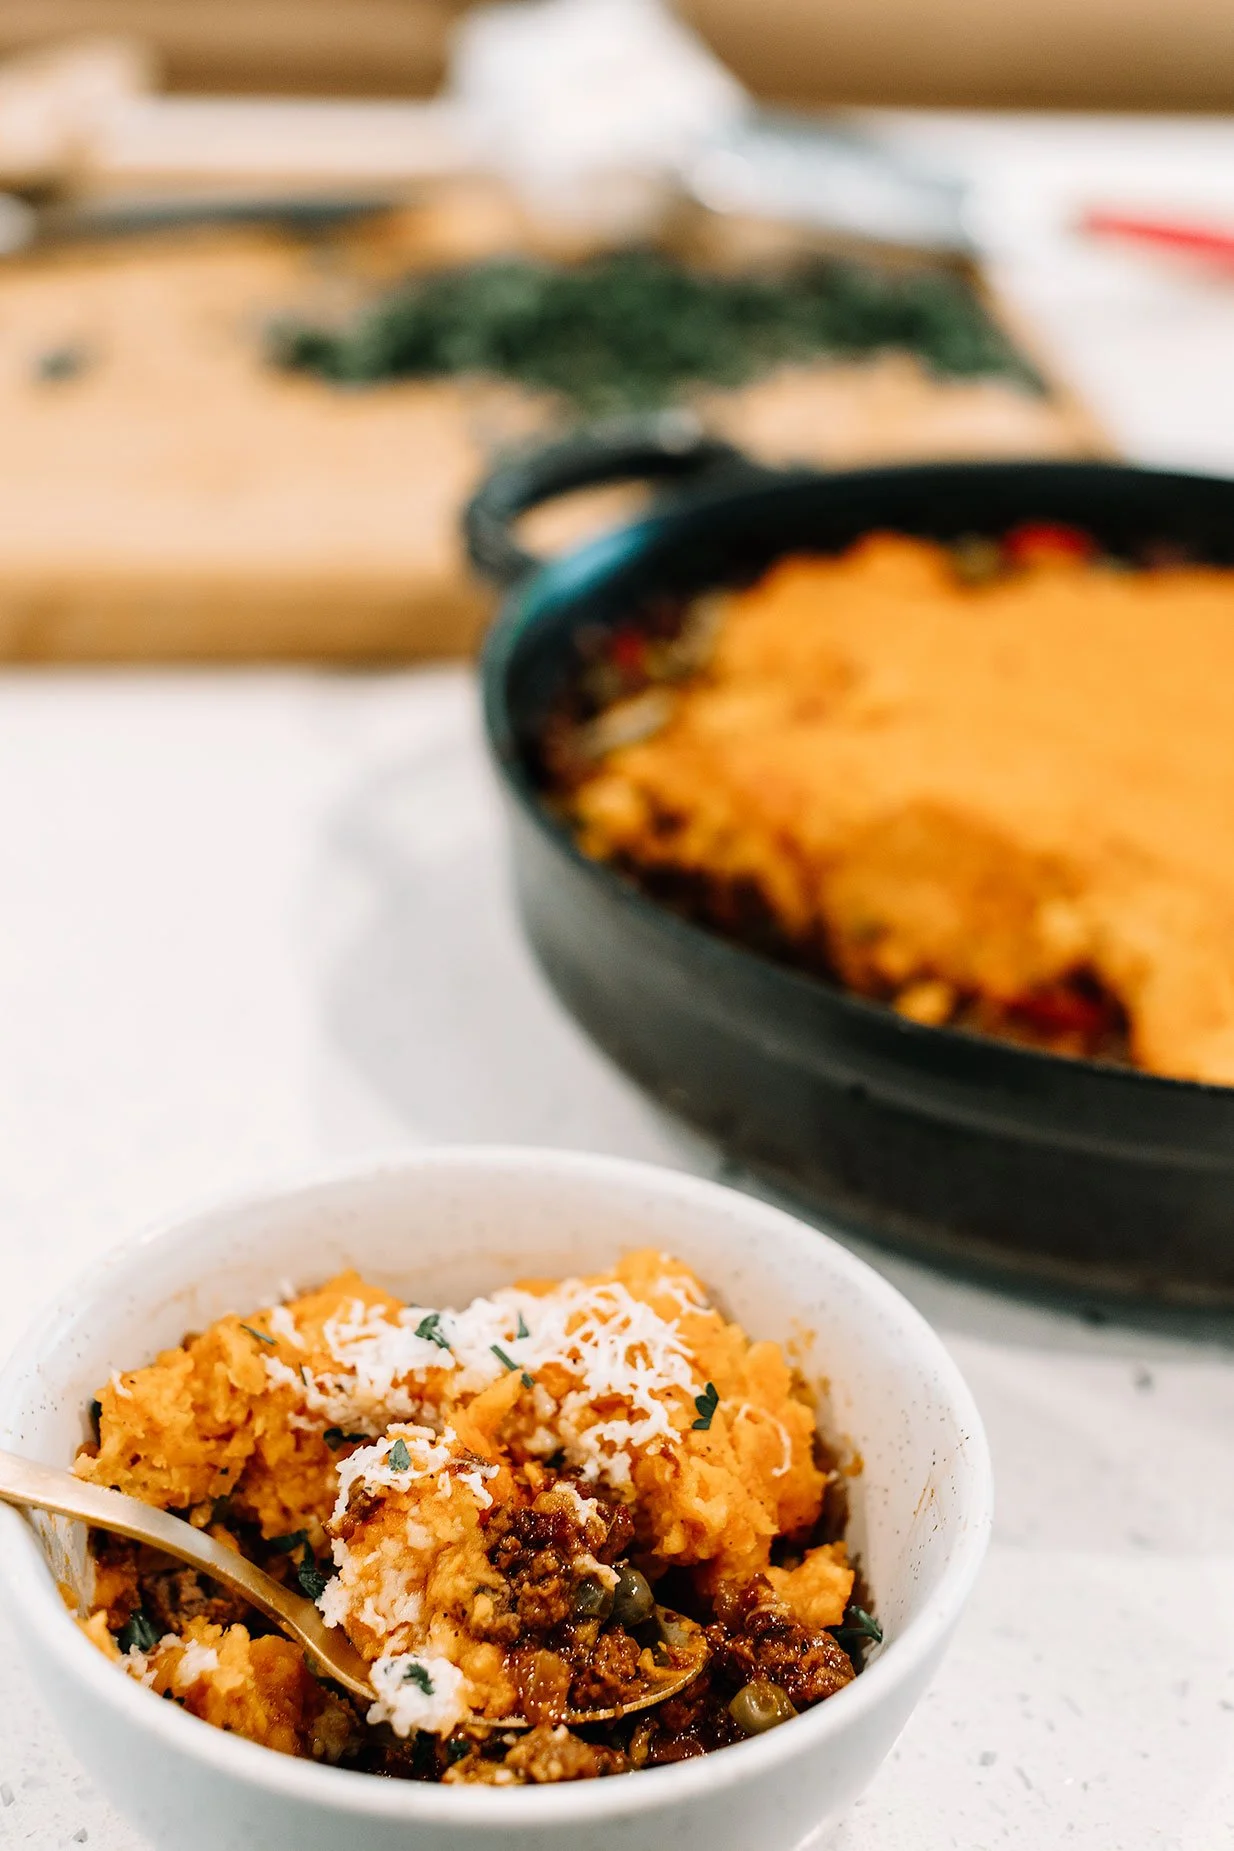
Final Thoughts
This casserole is comfort food with purpose — warm, hearty, and designed to fuel your body through different phases of your cycle. Whether you’re deep into cycle syncing or just want a nutrient-dense dinner, it’s a dish worth bookmarking.
✨ If you try this recipe, make sure to tag me in your reel recreations so I can cheer you on in the kitchen!
Sweet Potato Shepherd’s Pie
This healthy shepherd’s pie (technically cottage pie!) uses ground beef, veggies, and a creamy sweet potato topping. Gluten-free & dairy-free friendly comfort food.
Servings: 4-6 Prep: 10 MIN Cook time: 40 MIN
Ingredients
Filling
1 white onion, diced
2 carrots, peeled and diced
4 cloves garlic, minced
2 Tbsp tomato paste
1 lb ground beef
½ cup beef bone broth
4 Tbsp coconut aminos (or 2 Tbsp Worcestershire + 2 Tbsp coconut aminos for less sweetness)
1 Tbsp Italian seasoning
1 tsp paprika
1 tsp salt
1 tsp black pepper
1 Tbsp arrowroot flour + 1 Tbsp water (slurry)
½ cup frozen peas
½ cup frozen green beans (or other mixed veggies on hand)
Mashed Sweet Potato Topping
2 large sweet potatoes, peeled and cubed
2 Tbsp grass-fed butter, ghee, or coconut oil
¼ cup milk of choice (dairy-free if preferred)
½ tsp garlic powder
¼ tsp smoked paprika
Salt and black pepper, to taste
Optional: shredded cheese for topping
For Serving
Fresh parsley, chopped
Directions
Prepare the Sweet Potatoes
Place peeled, cubed sweet potatoes in a large pot of salted water.
Bring to a boil and cook 12–15 minutes, until fork tender.
Drain, then mash with butter (or oil), milk, garlic powder, smoked paprika, salt, and pepper. Set aside.
Cook the Filling
Preheat oven to 375°F.
In a 12-inch oven-safe skillet (cast iron works well), sauté the onion in a little oil for 3–5 minutes until softened.
Add ground beef, garlic, and carrots. Cook 5–6 minutes, breaking up the beef, until browned.
Stir in tomato paste, coconut aminos (or Worcestershire + coconut aminos), Italian seasoning, paprika, salt, and pepper. Cook 2–3 minutes to deepen flavor.
Add bone broth, slurry, peas, and green beans. Stir well and simmer 2–3 minutes until sauce thickens.
Assemble & Bake
Spread the mashed sweet potatoes evenly over the filling.
If using cheese, sprinkle on top.
Bake uncovered for 25 minutes, until lightly golden.
Serve
Garnish with fresh parsley and serve warm.
✨ Notes & Tips
For a smoother topping, whip the sweet potatoes with a hand mixer.
Swap in ground turkey or lamb for variety.
Make ahead: Assemble the shepherd’s pie, cover, and refrigerate up to 24 hours. Bake as directed.

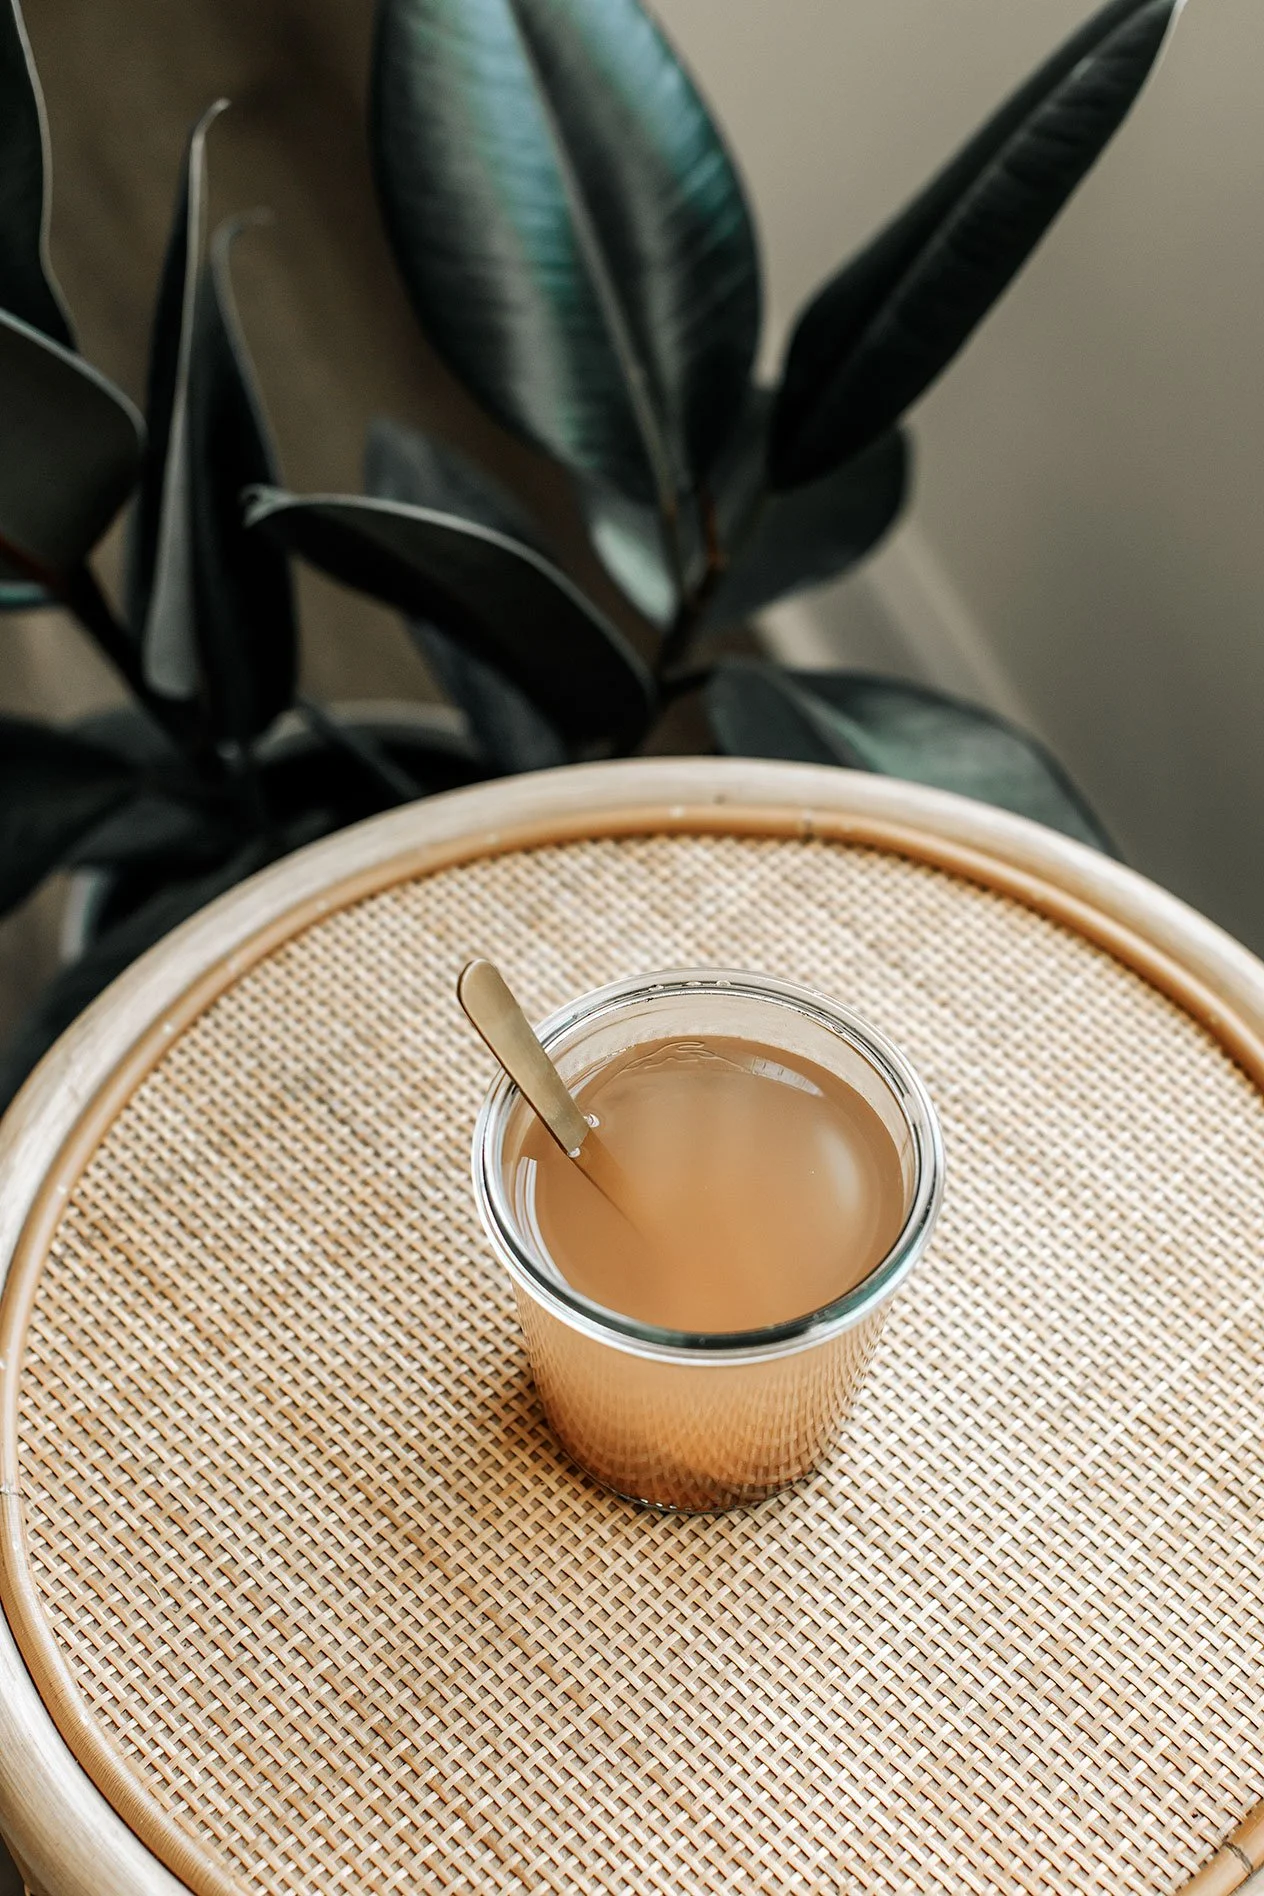
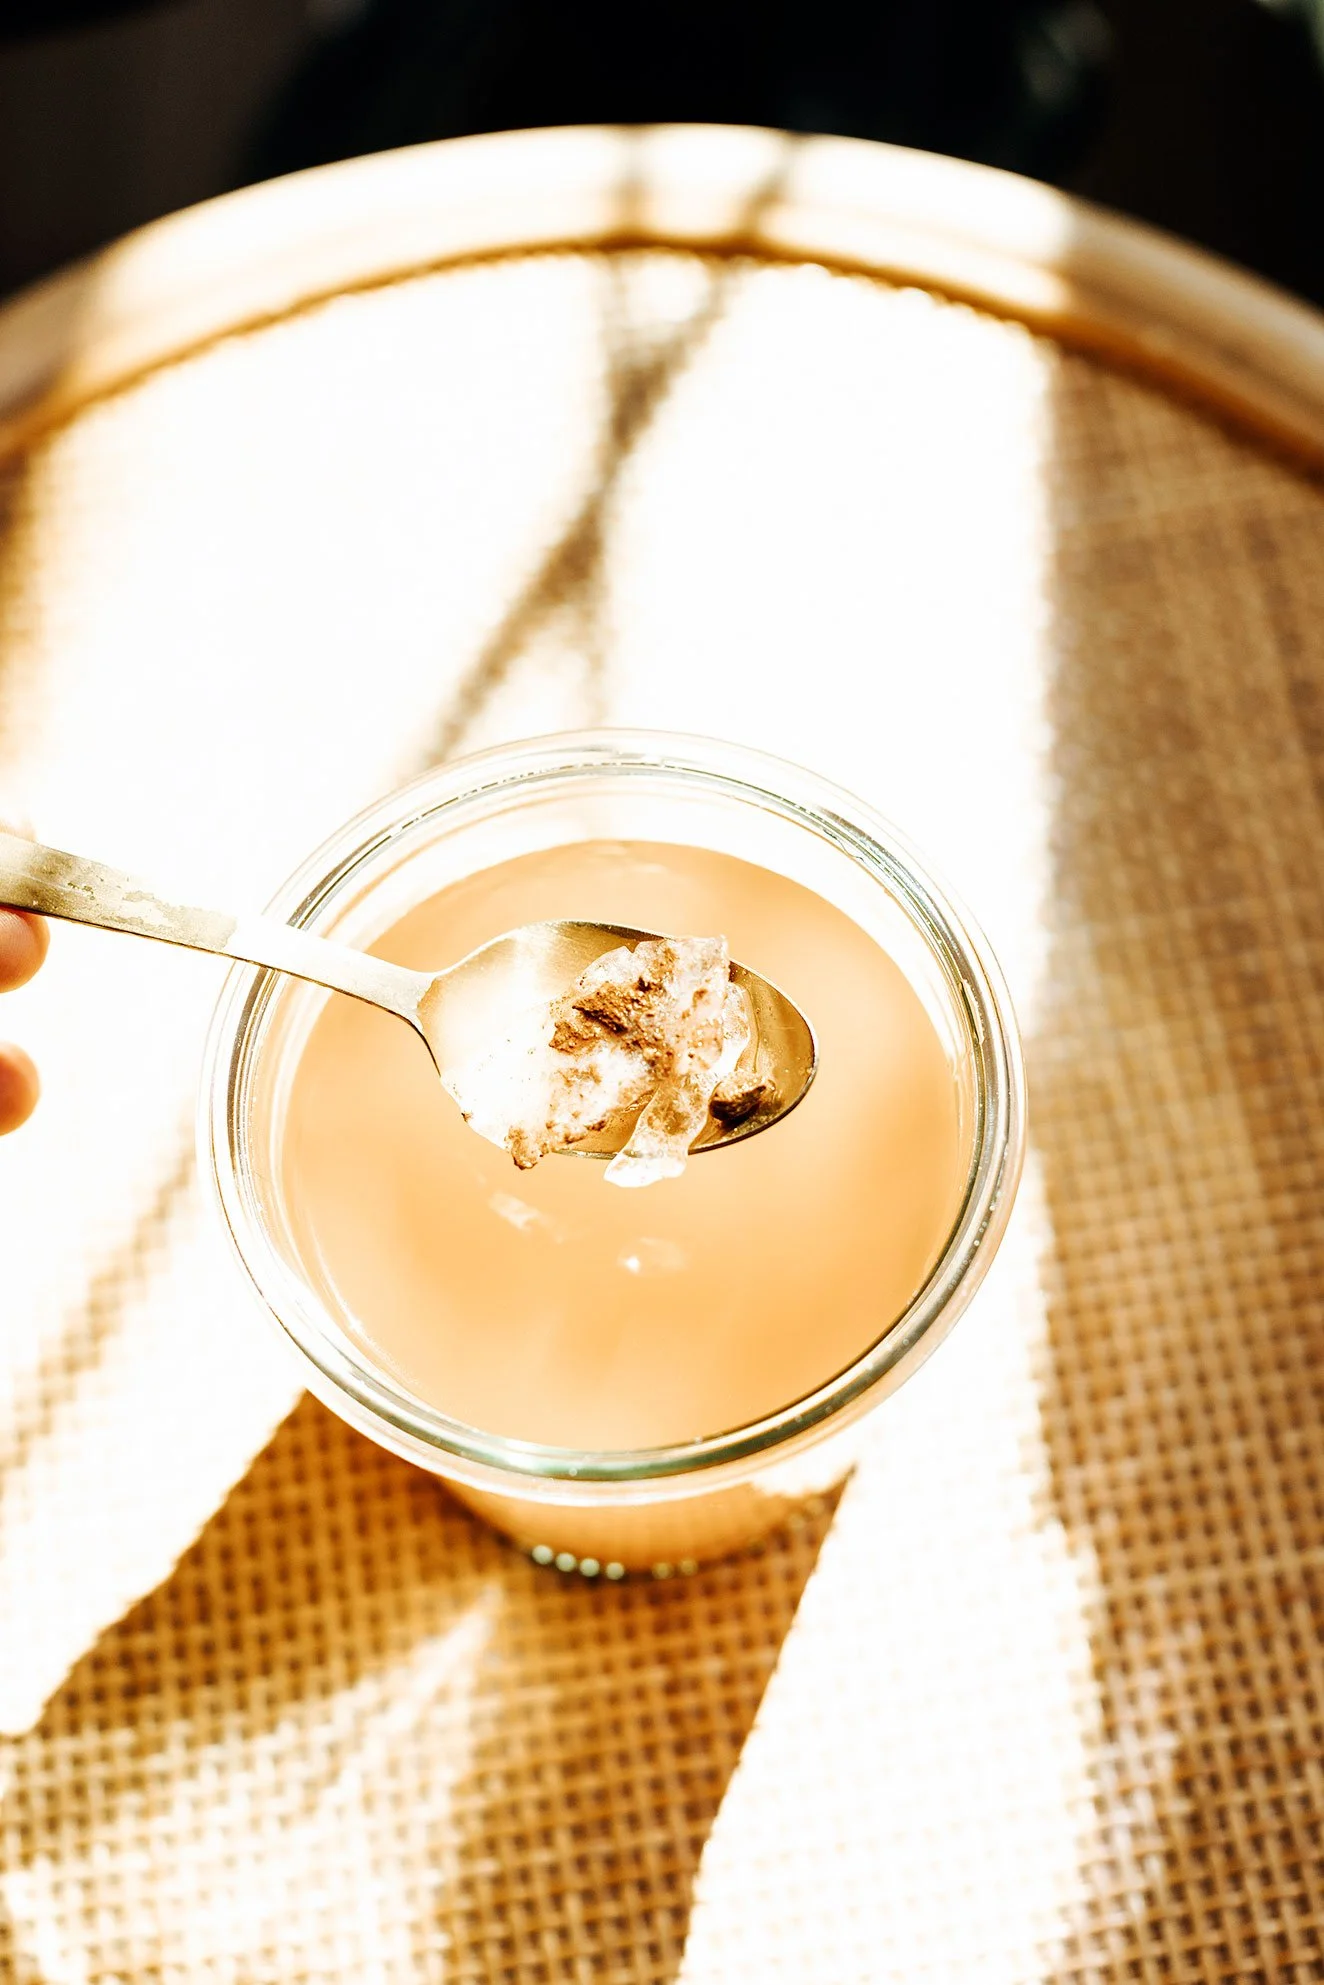
Sole Water
Sole water is a mineral-rich electrolyte solution made from natural salt and water, designed to support hydration, energy, and adrenal balance.
Sole water is a mineral-rich electrolyte solution made from natural salt and water, designed to support hydration, energy, and adrenal balance.

What Is Sole Water? Benefits, How-To, and Why It’s a Game-Changer for Mineral Balance
If you’re exploring ways to support your energy, hydration, and mineral balance naturally, you’ve probably heard of sole water (pronounced “so-lay”). This simple, ancient remedy is making a big comeback—and for good reason.
Sole water is made by saturating high-quality, unrefined salt (like Redmond Real Salt) in water until it can’t absorb any more. This creates a mineral-rich electrolyte solution that can support your adrenal health, hydration, and overall mineral balance.
Let’s break down the benefits, how to make it, and how it ties into your Hair Tissue Mineral Analysis (HTMA) results—especially if you’ve been told you have a low sodium-to-potassium (Na/K) ratio.
Benefits of Sole Water
💧 Natural Electrolyte Support
Sole water is packed with naturally occurring minerals like sodium, magnesium, calcium, and potassium—essential for hydration, nerve function, and muscle support.
⚡ Adrenal and Energy Support
For those struggling with fatigue, burnout, or brain fog, sole water may help regulate energy by supporting adrenal function, especially when taken first thing in the morning.
🧠 Improved Focus & Mood
Balanced minerals = balanced brain. Sodium plays a key role in nutrient transport and cellular communication, which affects mood, cognition, and mental clarity.
🦴 Digestive and pH Support
Sole may help promote stomach acid production and overall digestive health. It can also help alkalize the body thanks to the trace mineral content.
Sole Water and HTMA: A Smart Support for Low Na/K Ratios
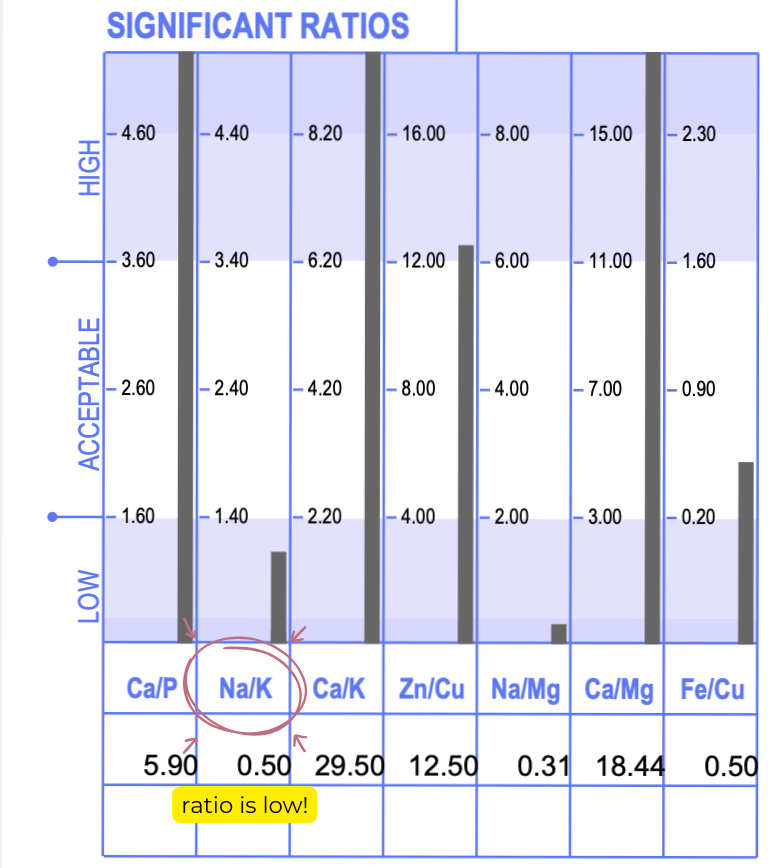
If you’ve done an HTMA test and your sodium-to-potassium (Na/K) ratio is low, you may experience symptoms like:
Fatigue or burnout
Cravings for salt or sugar
Trouble focusing or low motivation
Blood sugar imbalances
A low Na/K ratio can indicate chronic stress or adrenal dysfunction. Since sodium is often depleted in this state, sole water is a gentle way to support sodium intake without overloading the system—especially when used in conjunction with a tailored mineral balancing plan.
It’s not a cure-all, but it’s a smart tool in your HTMA toolkit—especially when paired with other food-based mineral support.
Grab My Favorite Salt + Save
I recommend Redmond Real Salt because it's rich in trace minerals and free from additives or anti-caking agents.
Use my discount code ROOTS15 for 15% off your order at Redmond Life!
Curious About Your Mineral Levels?
HTMA (Hair Tissue Mineral Analysis) is a non-invasive test that reveals your body’s mineral and stress patterns. Whether you're dealing with fatigue, hormonal issues, or gut challenges, your mineral balance is foundational.
🧪 Want to see your own mineral blueprint?
Click here to learn more about HTMA testing and how we use it to create personalized nutrition and lifestyle plans from the roots up.
💧 Sole Water, Sweating & Mineral Balance
Did you know that your ability to sweat is directly tied to your mineral balance? Sodium and potassium are key players in hydration and cellular energy—both of which are measured on your HTMA (Hair Tissue Mineral Analysis).
If you struggle to sweat (even in a sauna or workout), it could be a sign your lymphatic system is sluggish or that your minerals are out of balance. Supporting your body with mineral-rich sole water can help restore hydration, open detox pathways, and make sweating feel natural again.
✨ Want to dive deeper? Check out our Lymph & Sweating Support Guide to learn how minerals and lymph health work together for better detox and energy.
If you try this recipe, let us know! Leave a comment, rate it, and don’t forget to tag a photo to #fromtherootsblog on Instagram. We love seeing what you come up with!
Sole water is a mineral-rich electrolyte solution made from natural salt and water, designed to support hydration, energy, and adrenal balance.
SERVINGS: multiple | PREP TIME: 1-3 days
You’ll Need:
1 clean glass jar with a plastic or non-metal lid
High-quality unrefined salt (Redmond Real Salt or Himalayan pink salt)
Filtered water
Directions
Fill about ¼ of the jar with salt.
Add filtered water until the jar is nearly full.
Let sit for 12–24 hours. If the salt dissolves completely, add a bit more. You’ll know it's fully saturated when a little salt remains at the bottom.
Store at room temperature.
NOTES
Add ½ to 1 tsp of the sole to a glass of water first thing in the morning on an empty stomach. Adjust to your needs and taste.

9-Day Adventure Through Mount Rainier, Olympic, and North Cascades National Parks in Washington
You’ll receive tips and healthy food suggestions for planning a 9-day journey dedicated exclusively to Washington's national parks—Mount Rainier, Olympic, and North Cascades.

If you've been following my journey for a while, you might remember my travel posts about my visit to one of Washington's stunning national parks—Mount Rainier. That trip took place a few years ago in a camper van, making this travel blog a fresh experience!
For starters, my previous adventure was with my ex-husband, while this new journey is alongside my current partner. Planning this trip has brought a sense of novelty and excitement as we aim to explore different sights, including attractions he hasn't yet experienced. Fortunately, this gives you the opportunity to explore fresh perspectives beyond the camper van experience. You’ll also receive tips and healthy food suggestions for planning a 9-day journey dedicated exclusively to Washington's national parks—Mount Rainier, Olympic, and North Cascades. Let’s get started!
DAY 1: TRAVEL DAY
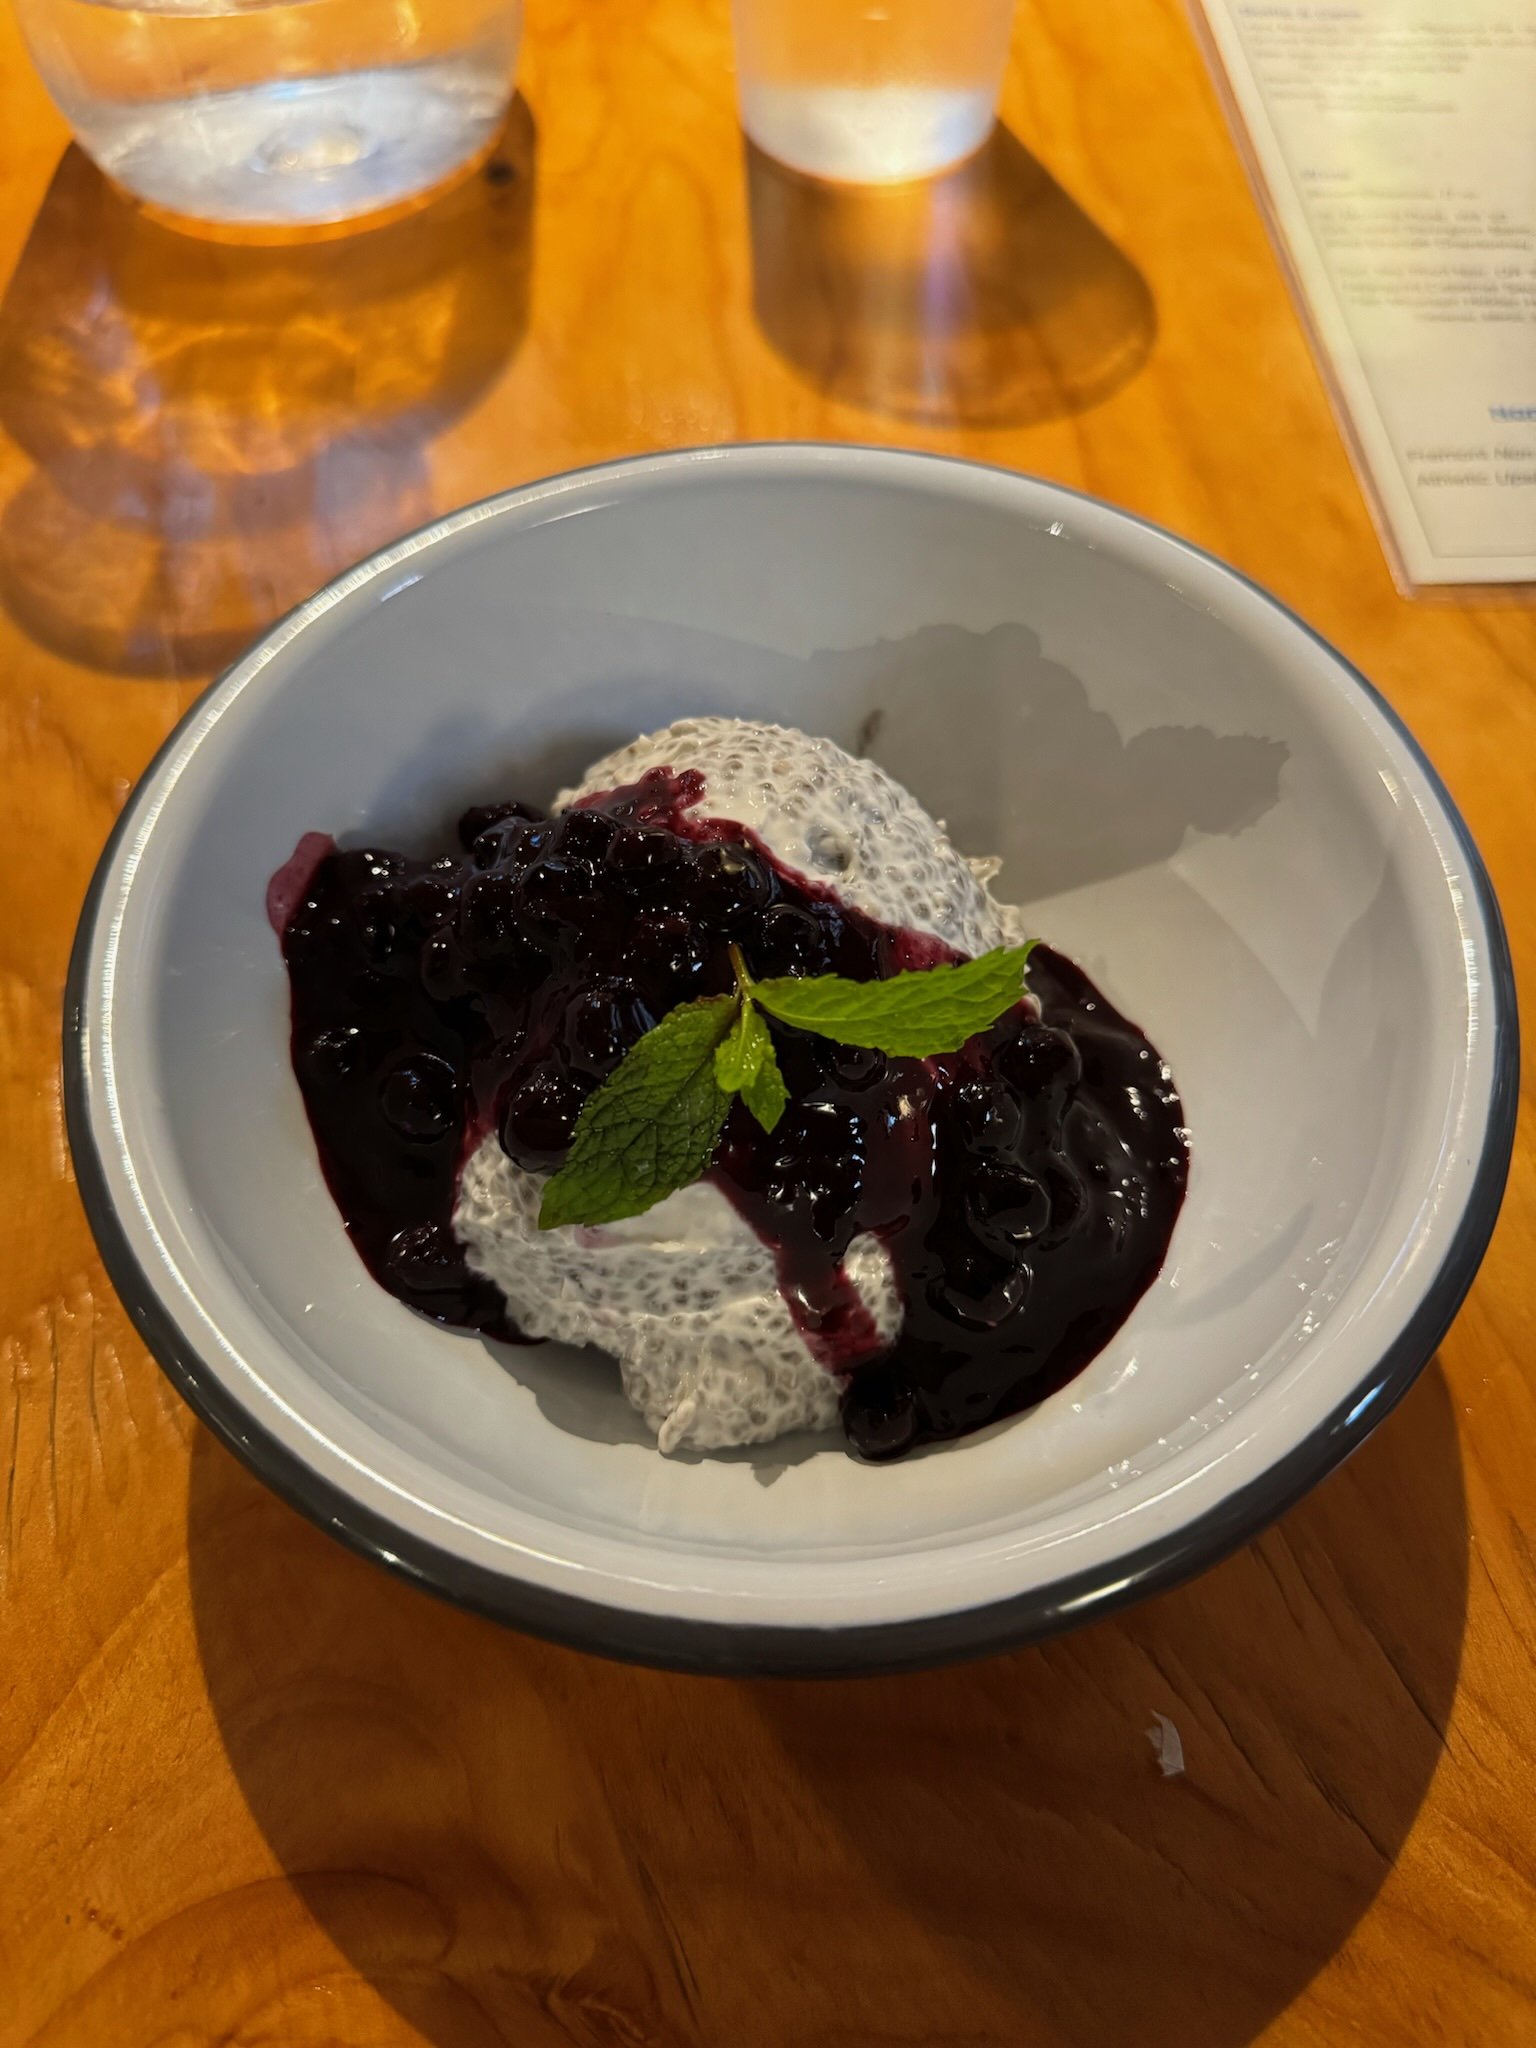
We arrived at Seattle Tacoma International Airport (SEA) to kick off our adventure! After picking up our rental car—essential for reaching all three national parks—we headed straight toward the Mount Olympic area, which is about a 2-3 hour drive from Seattle. Along the way, we stopped for dinner at a fantastic healthy restaurant Yodelin and then settled into our cozy Airbnb.
🚙 For your journey, you can choose to drive the whole way or take the Bainbridge ferry, which I highly recommend as it’s much quicker!
🏠 Our Airbnb was located on the west side of the peninsula (Forks area), making it a convenient base for exploring the Olympic Peninsula. We absolutely loved our stay; it was super affordable!

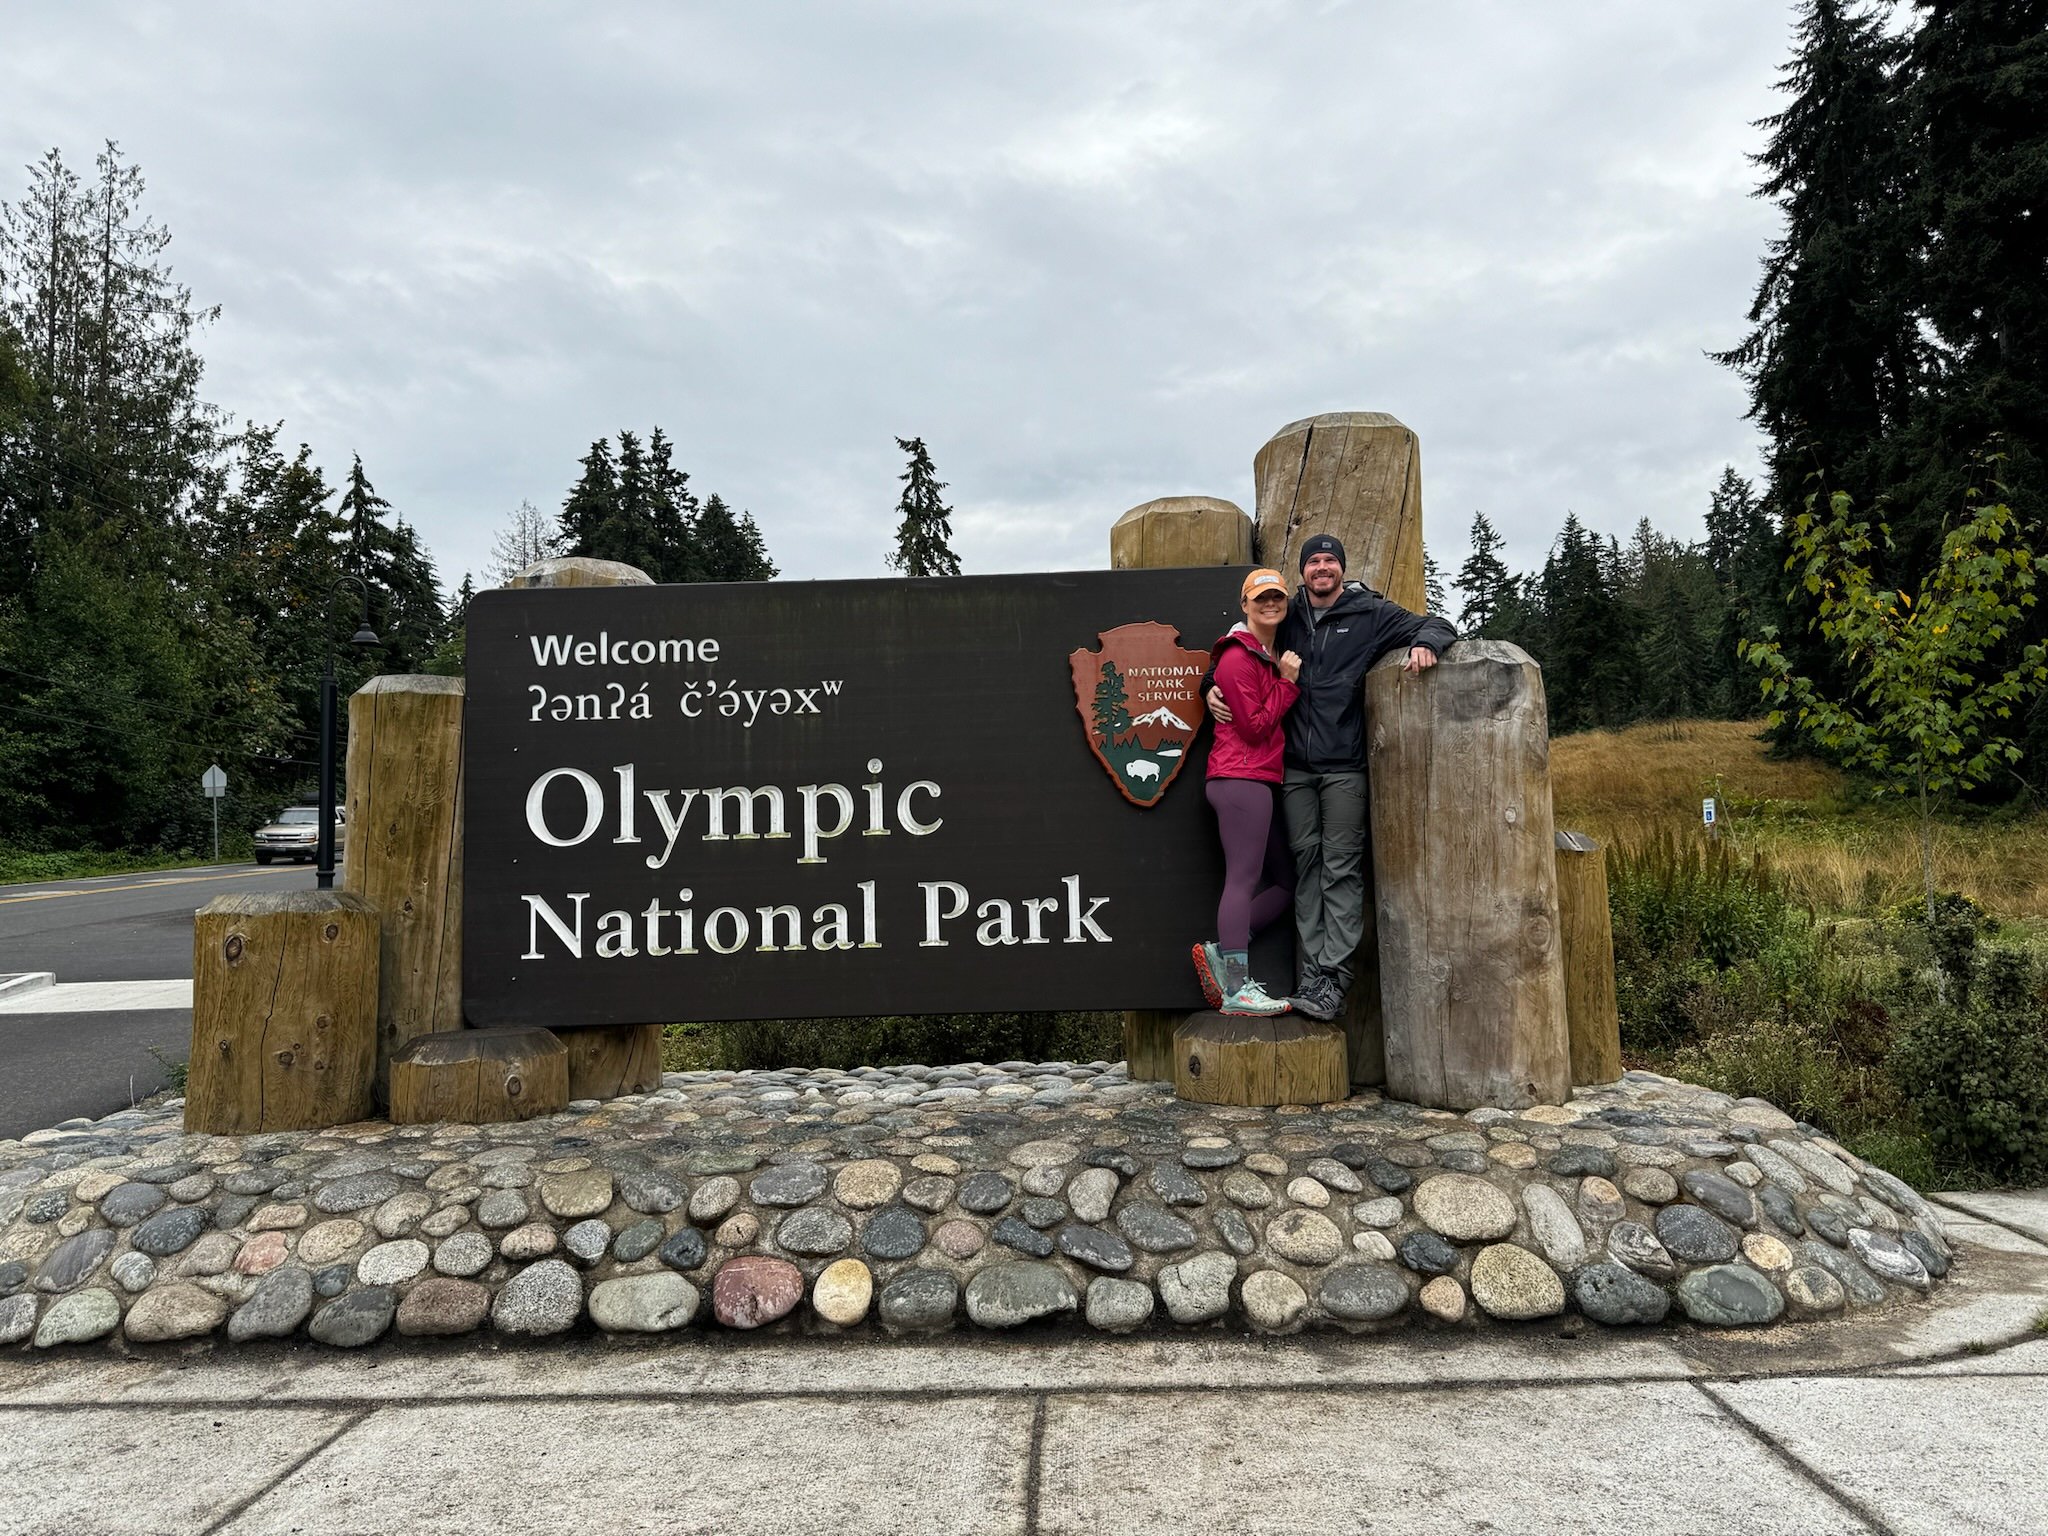
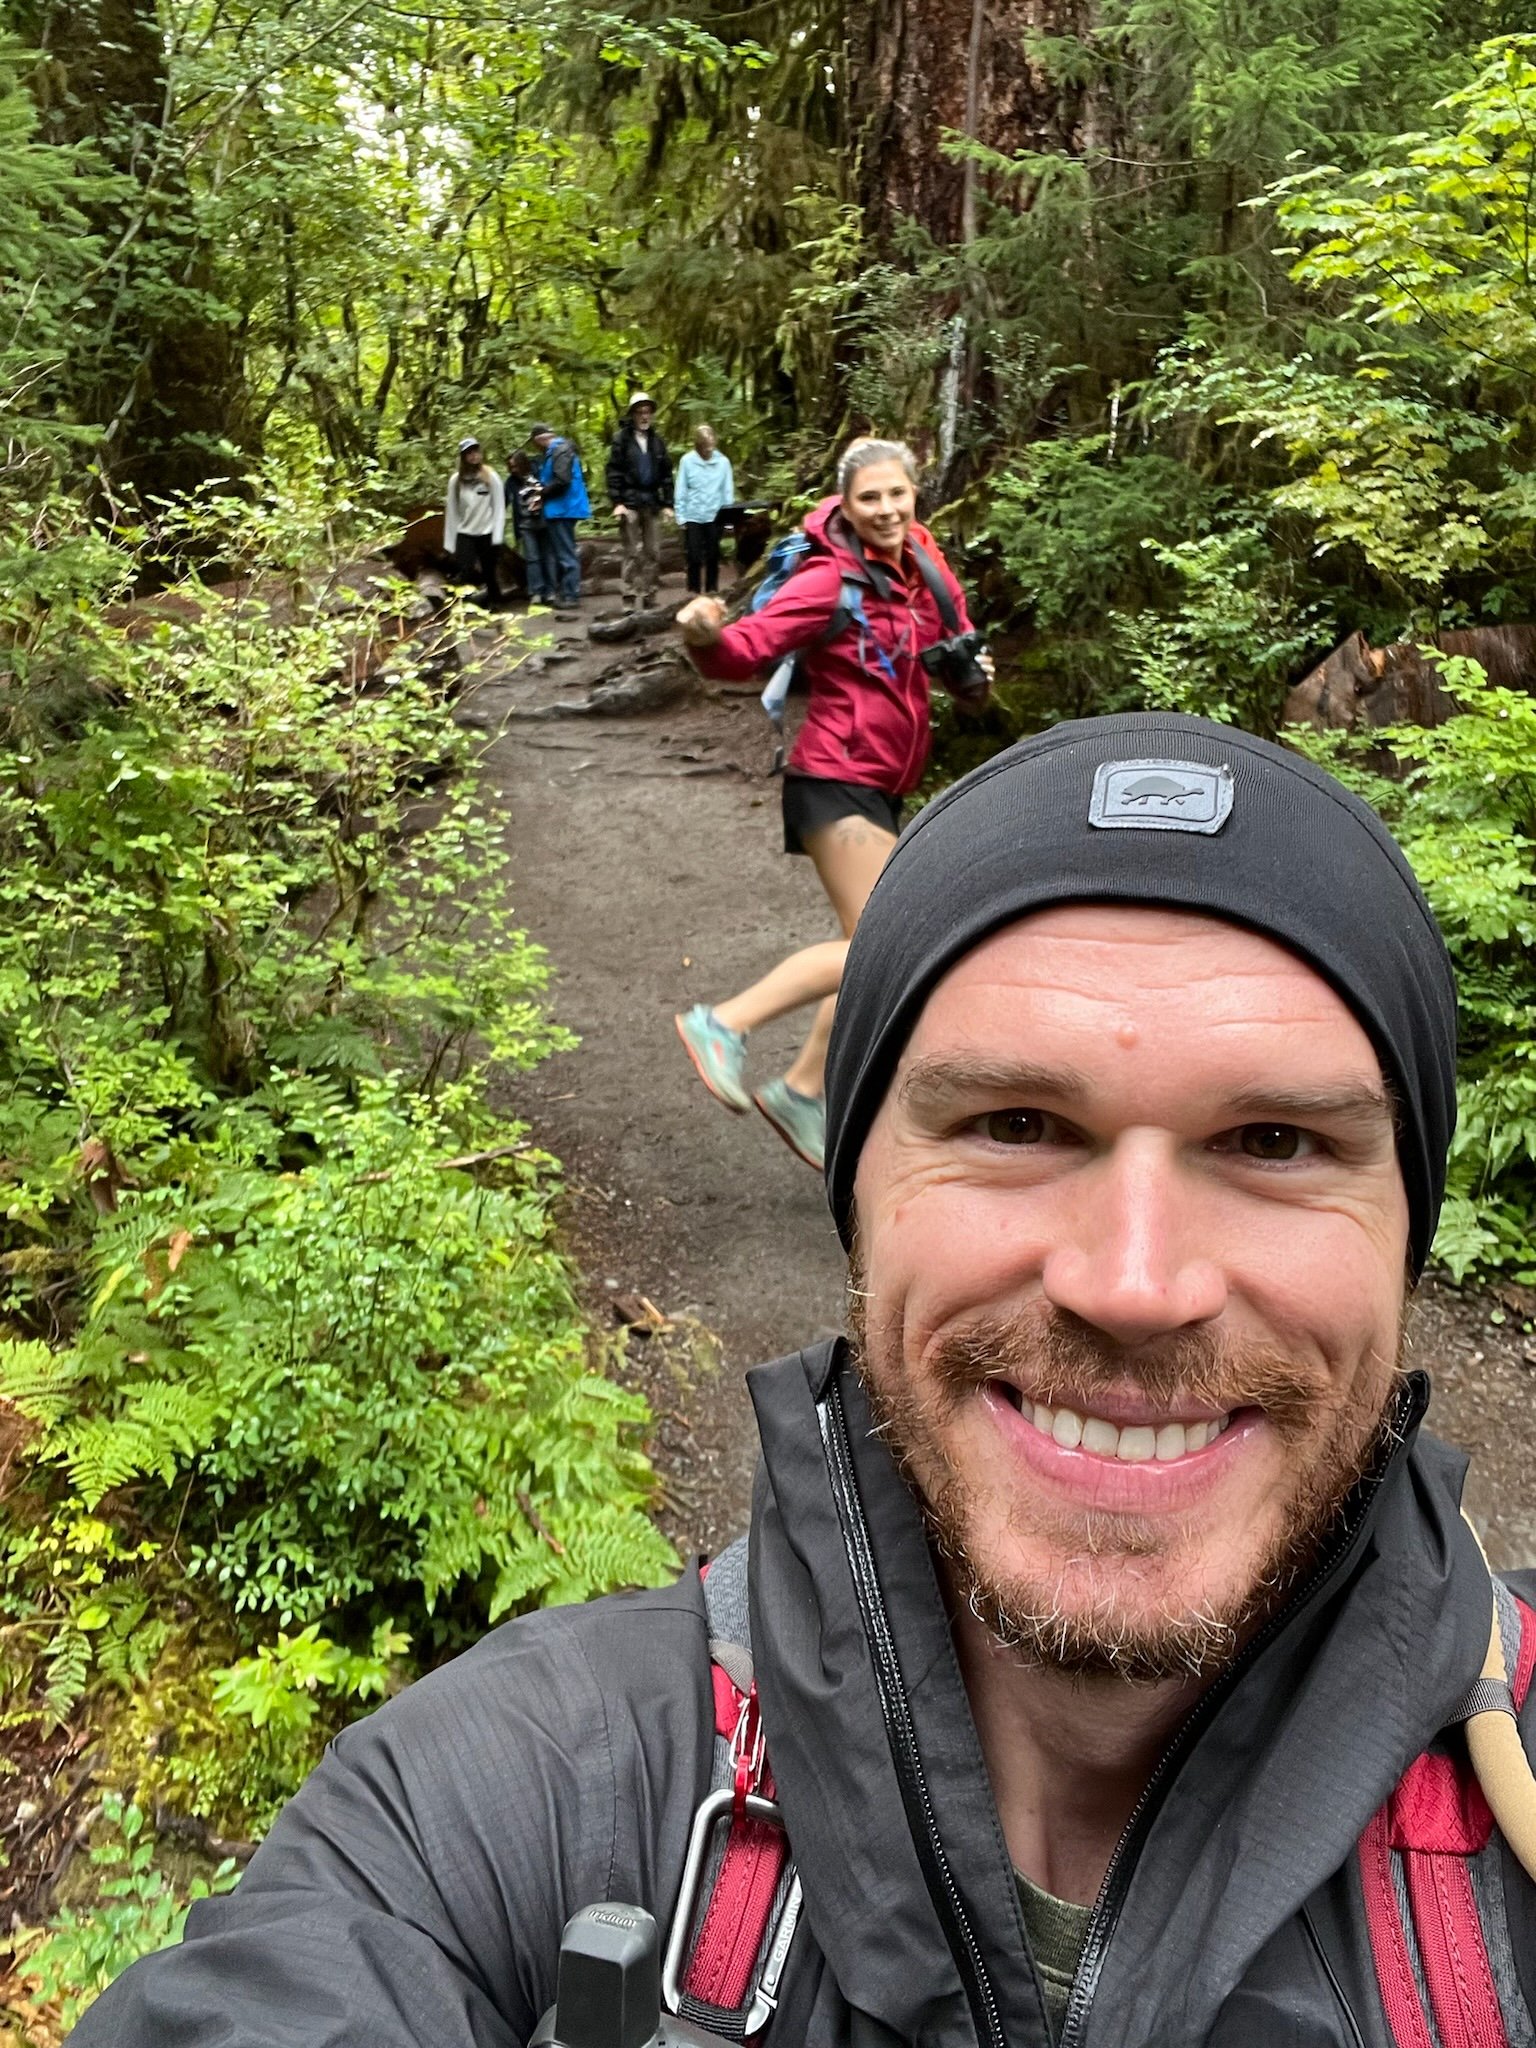
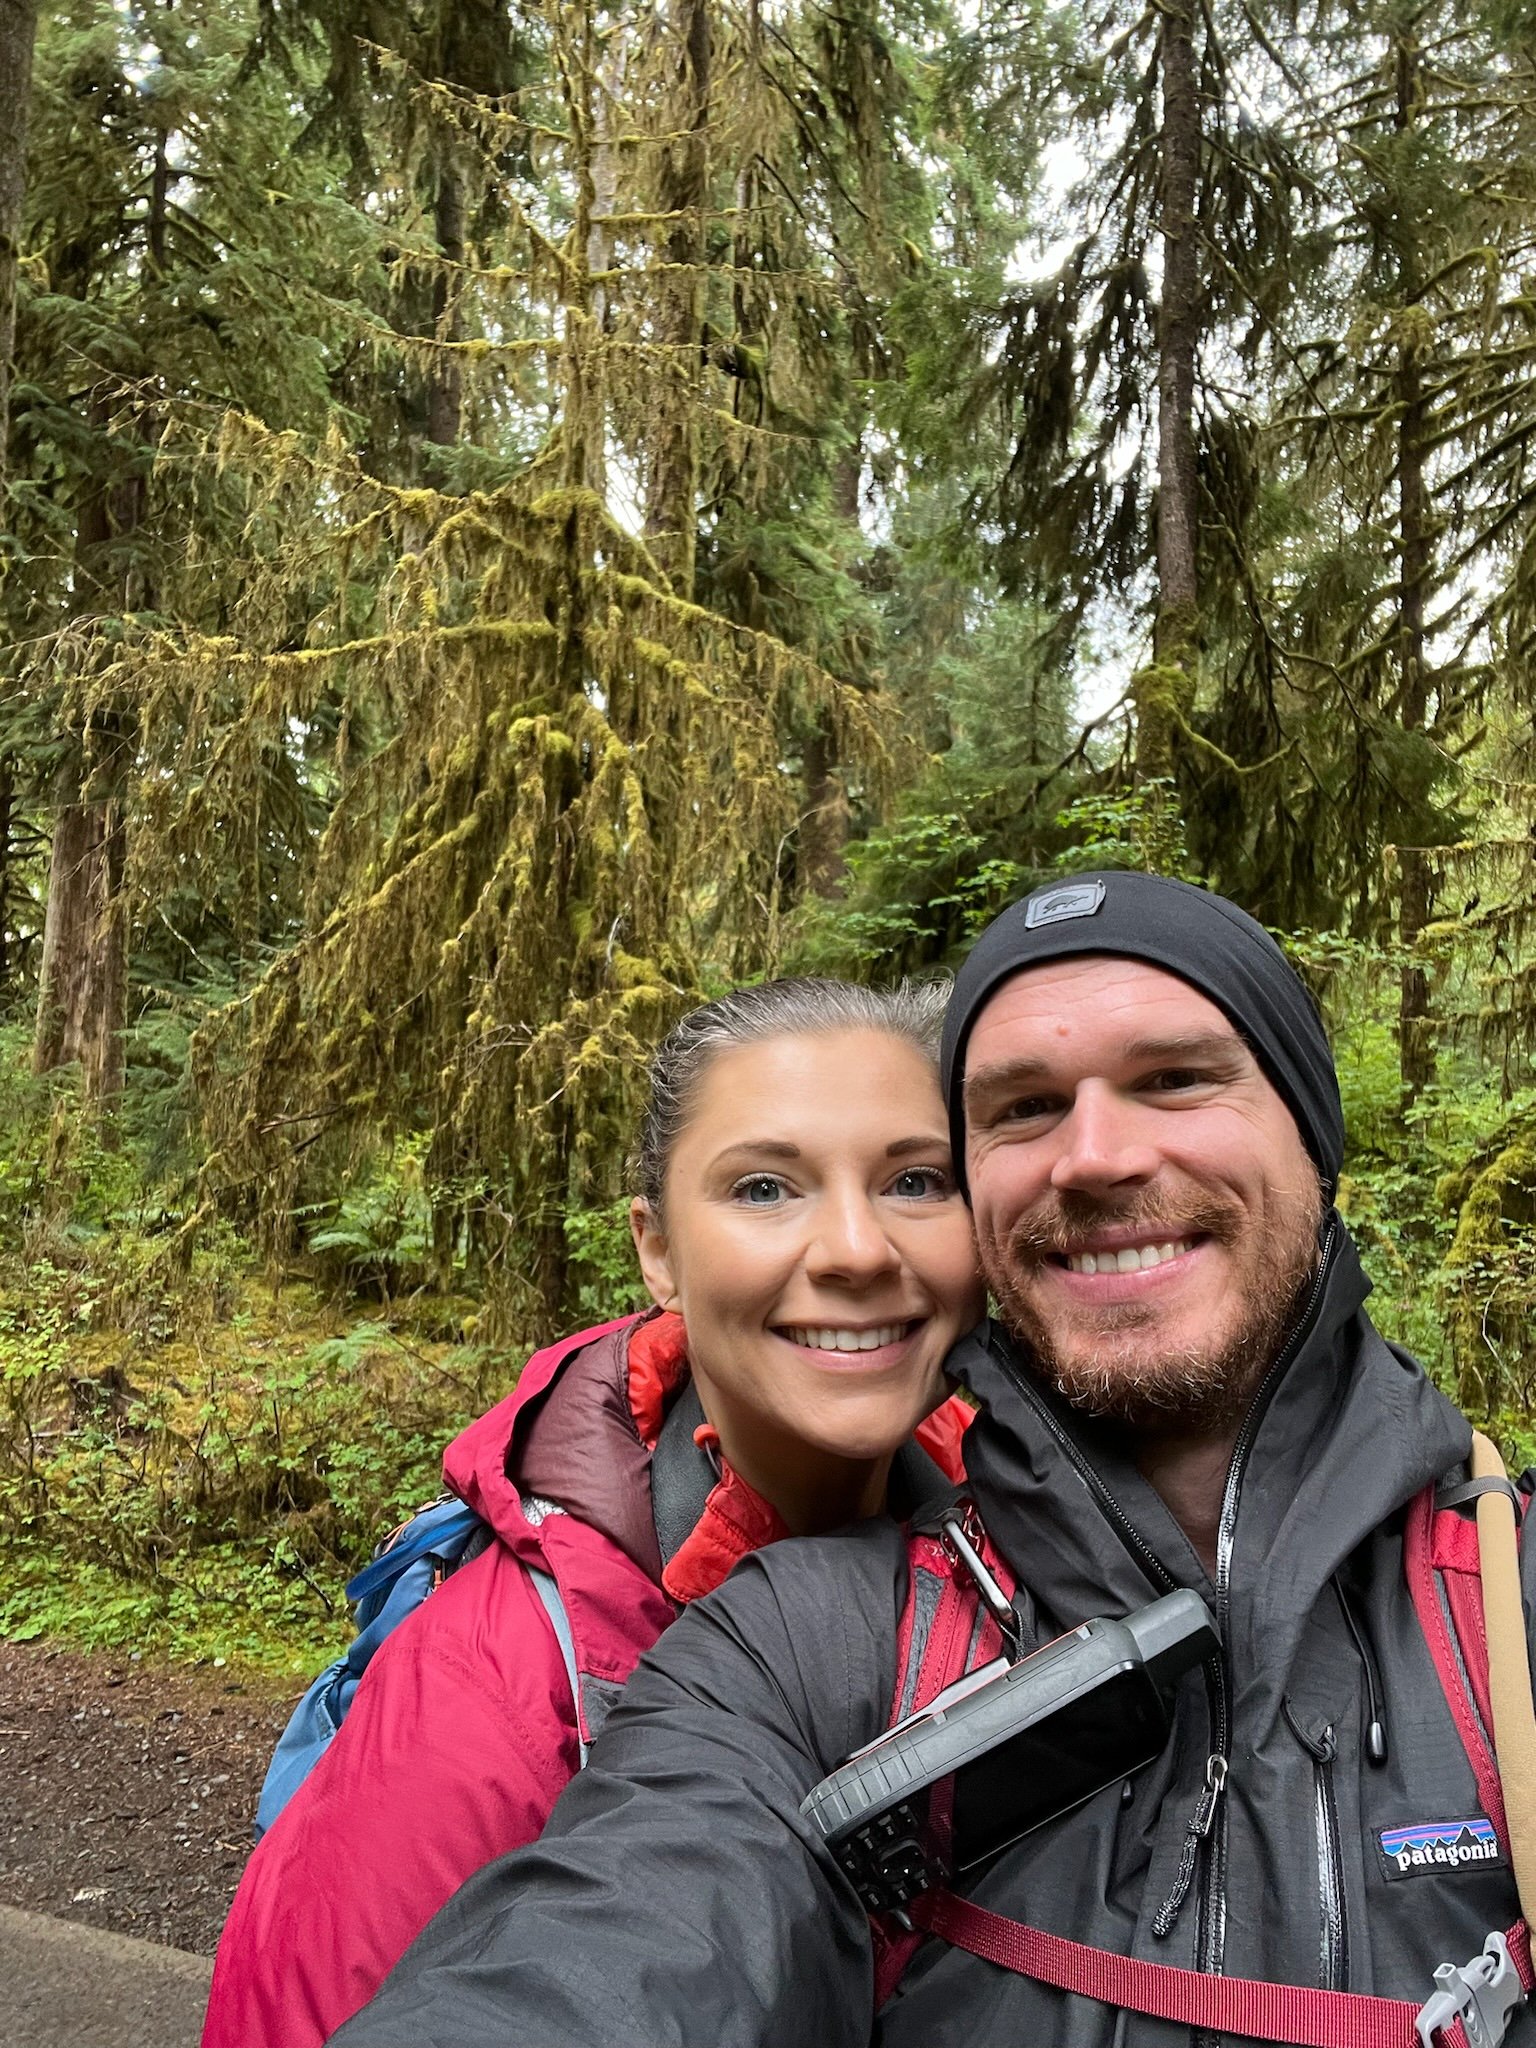
DAY 2: Hoh Rainforest + Rialto Beach
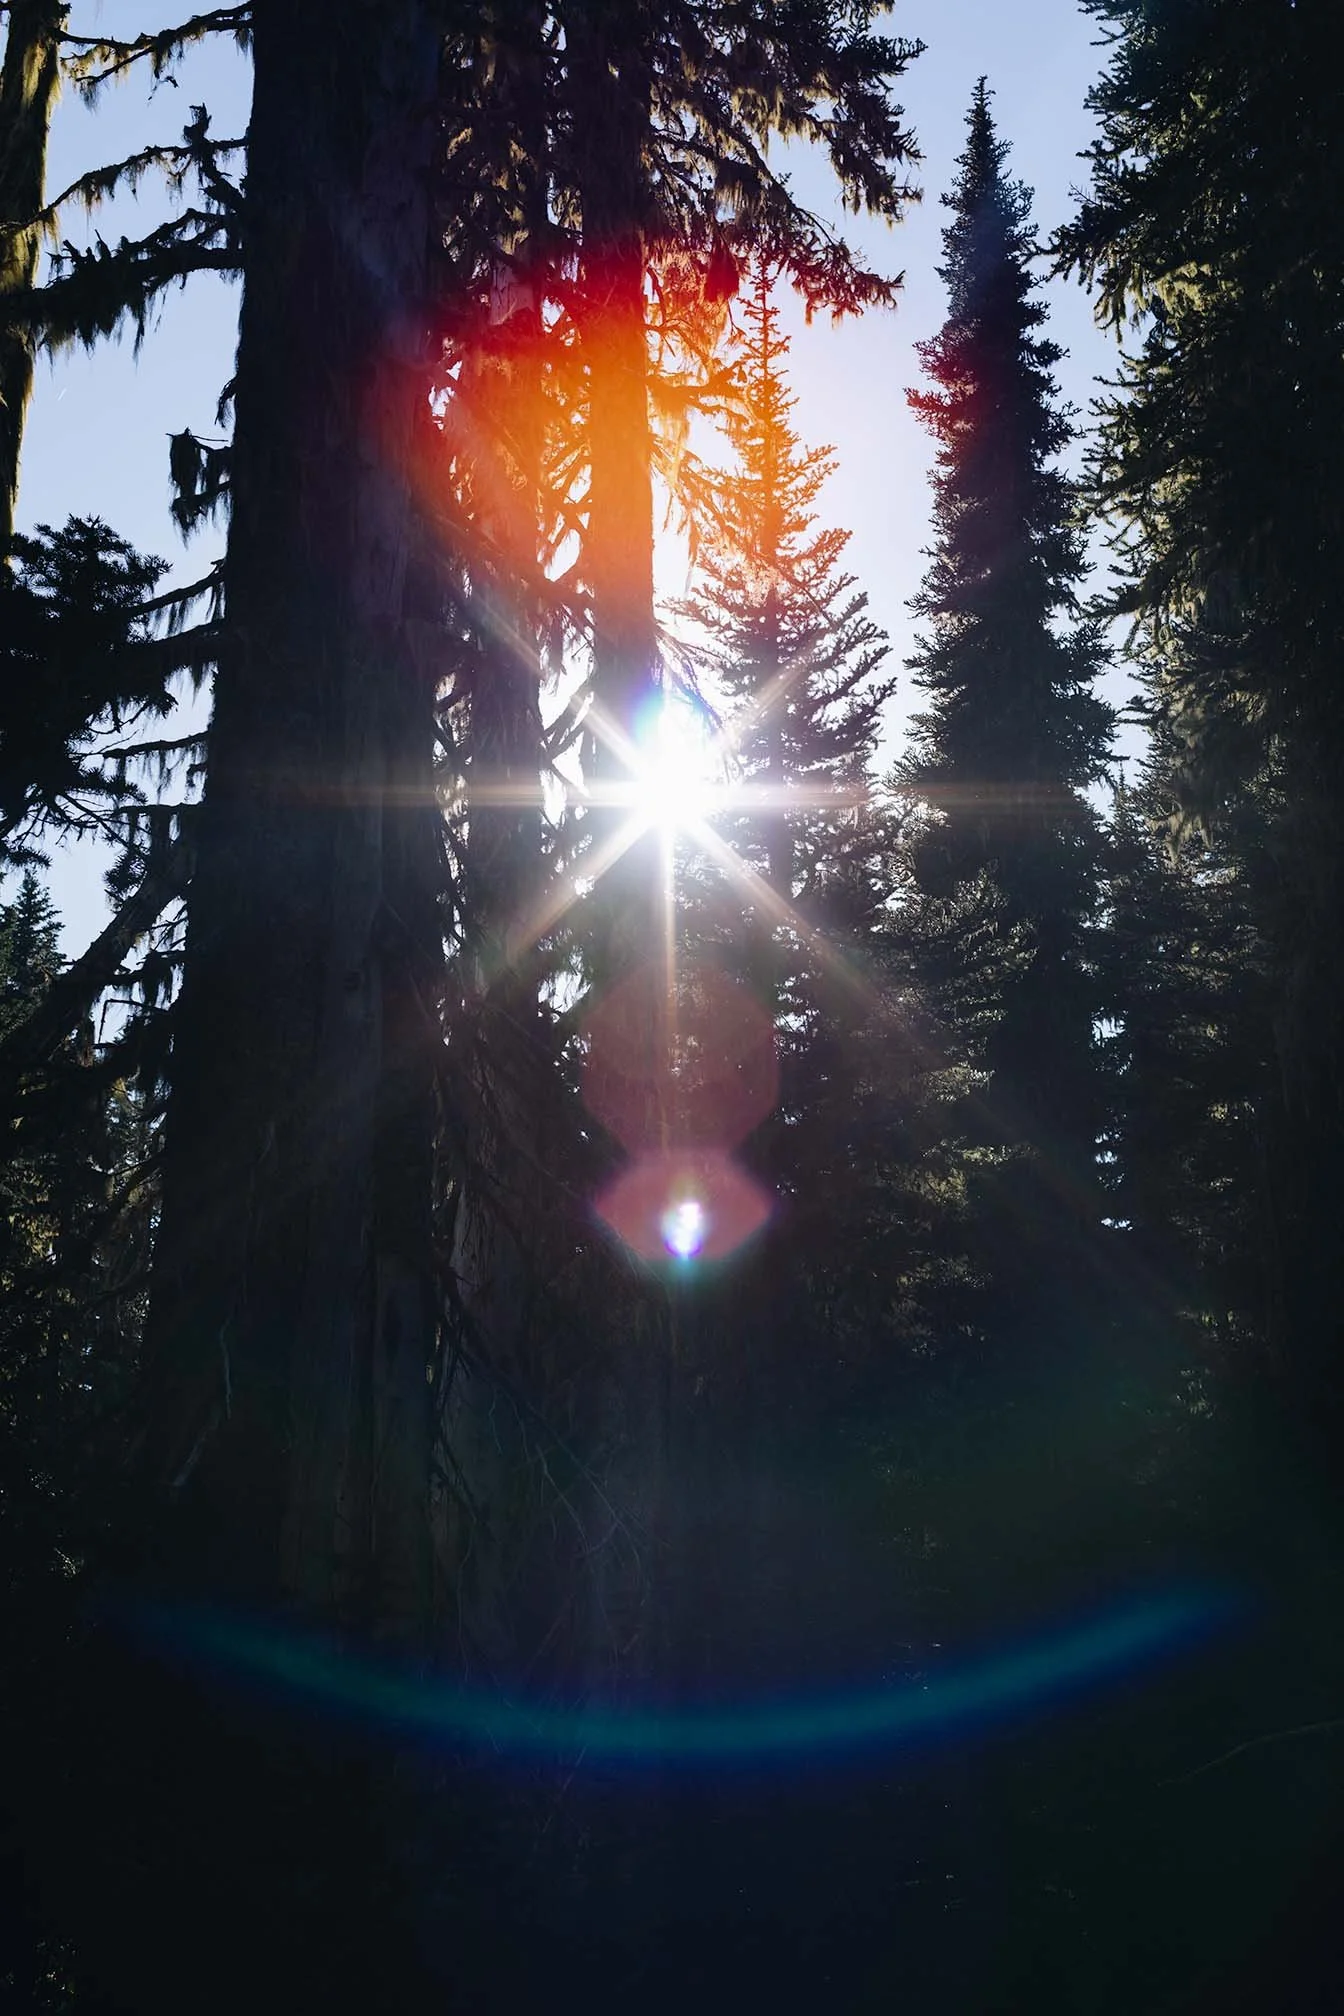
Located about an hour from our Airbnb, the Hoh Rainforest was our destination for the morning and early afternoon. You can easily spend 1-2 hours exploring, as there are several short hiking trails available, such as the Hall of Mosses Trail (0.8 miles round trip) and the Spruce Nature Trail (1.2 miles).


Despite the persistent rain during our entire stay on the Olympic Peninsula, this enchanting place is a must-visit, even if you only have a few hours. The Hoh Rainforest is one of the largest temperate rainforests in the United States, where you’ll feel as if you’ve stepped into a fairy tale, surrounded by trees draped in vibrant green moss alongside the river.
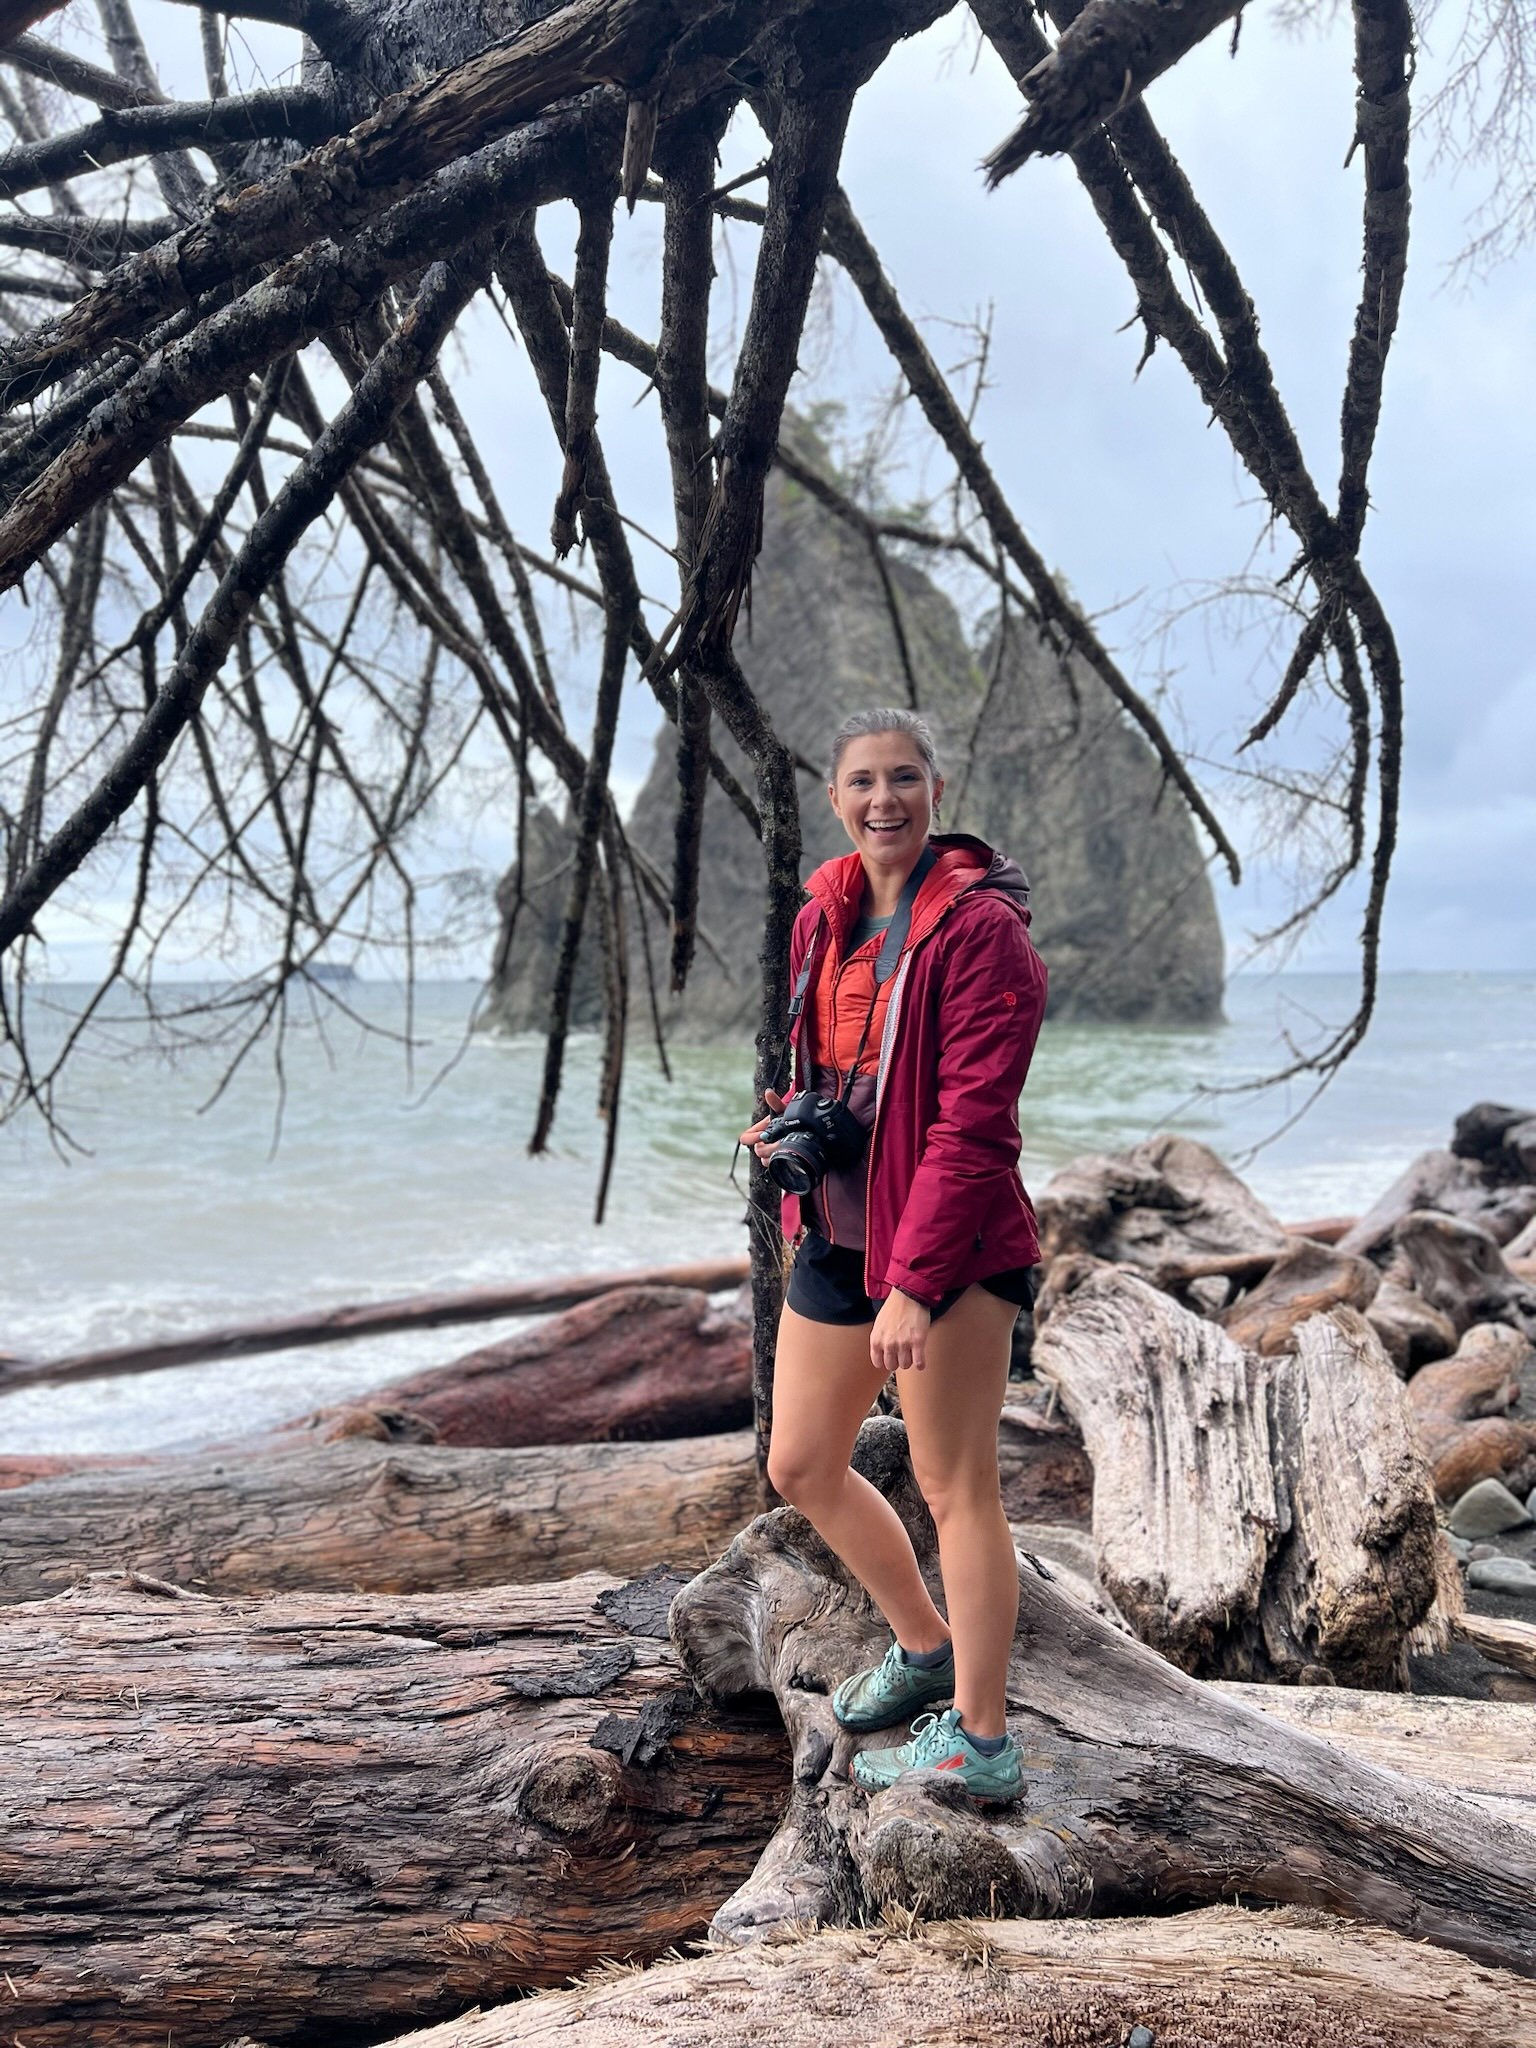
After enjoying lunch at the renowned Sully’s Drive-In in Forks, WA, we headed out to Rialto Beach.
🍔 If you’re gluten-free, their gluten-free burger bun is absolutely the best! I was honestly amazed!


Before visiting Rialto Beach, be sure to go during low tide (low tide resource). If you're planning to walk to the Hole in the Wall and back, timing is key, as you can only do this during low tide, so plan accordingly! Since my partner had never visited the PNW beaches before, it was a wonderful opportunity for us to share this experience together! If you're short on time or can't make it at low tide, Second Beach is a great alternative. We aimed to enjoy the sunset hour, as we had heard it was the ideal spot, but sadly, it rained and stayed chilly for the rest of the afternoon into the evening!


DAY 3: Sol Duc Falls , Mount Storm King, Lake Crescent Lodge + Devil’s Punchbowl
As you can tell from the description, it was a LONG day! Haha! But we’re committed to making the most of every moment, so let’s dive in. Beginning our adventure at the stunning Sol Duc Falls, we enjoyed an easy 1.6-mile roundtrip hike with just a 200-foot elevation gain. We were genuinely amazed by the breathtaking beauty of this waterfall!


Once we crossed this must-see off our list, we headed up toward the Lake Crescent area, where we took on the challenge of Mount Storm King. A quick heads-up: this hike is quite challenging, covering 4.7 miles round trip with an elevation gain of about 2,106 ft. During our summer visit, we hoped for clear skies, but unfortunately, that wasn’t the case! We missed out on the stunning views depicted in photos, but the challenge made for an excellent bonding experience for us. Haha!
🪨 Be cautious of narrow sections with drop-offs where ropes are needed for assistance, and keep an eye on the weather if you're not accustomed to this type of terrain.
🐦⬛ We enjoyed our packed lunches at the mountain's summit, where we had to fend off hungry birds trying to snatch our food! So be sure to keep your meals secure up there!


Afterwards, we embarked on shorter hikes that led us to the Lake Crescent Lodge Restaurant, where we treated ourselves to refreshing cocktails – a well-deserved break before heading down to the Devil’s Punchbowl! We accessed the Devil’s Punchbowl via the Spruce Railroad Trail, which was an easy out-and-back journey of 2.4 miles with just a 137 ft elevation gain.


👙 If you plan to take a dip, remember to bring your swimsuit! I jumped in wearing my hiking clothes, and my partner leaped off both the bridge and the cliff into the water! (Check out the reel for his jumps!) This was the perfect way to wrap up a long but rewarding day!
DAY 4: Morning coffee at Lake Crescent Lodge, Hurricane Ridge + driving back to Seattle
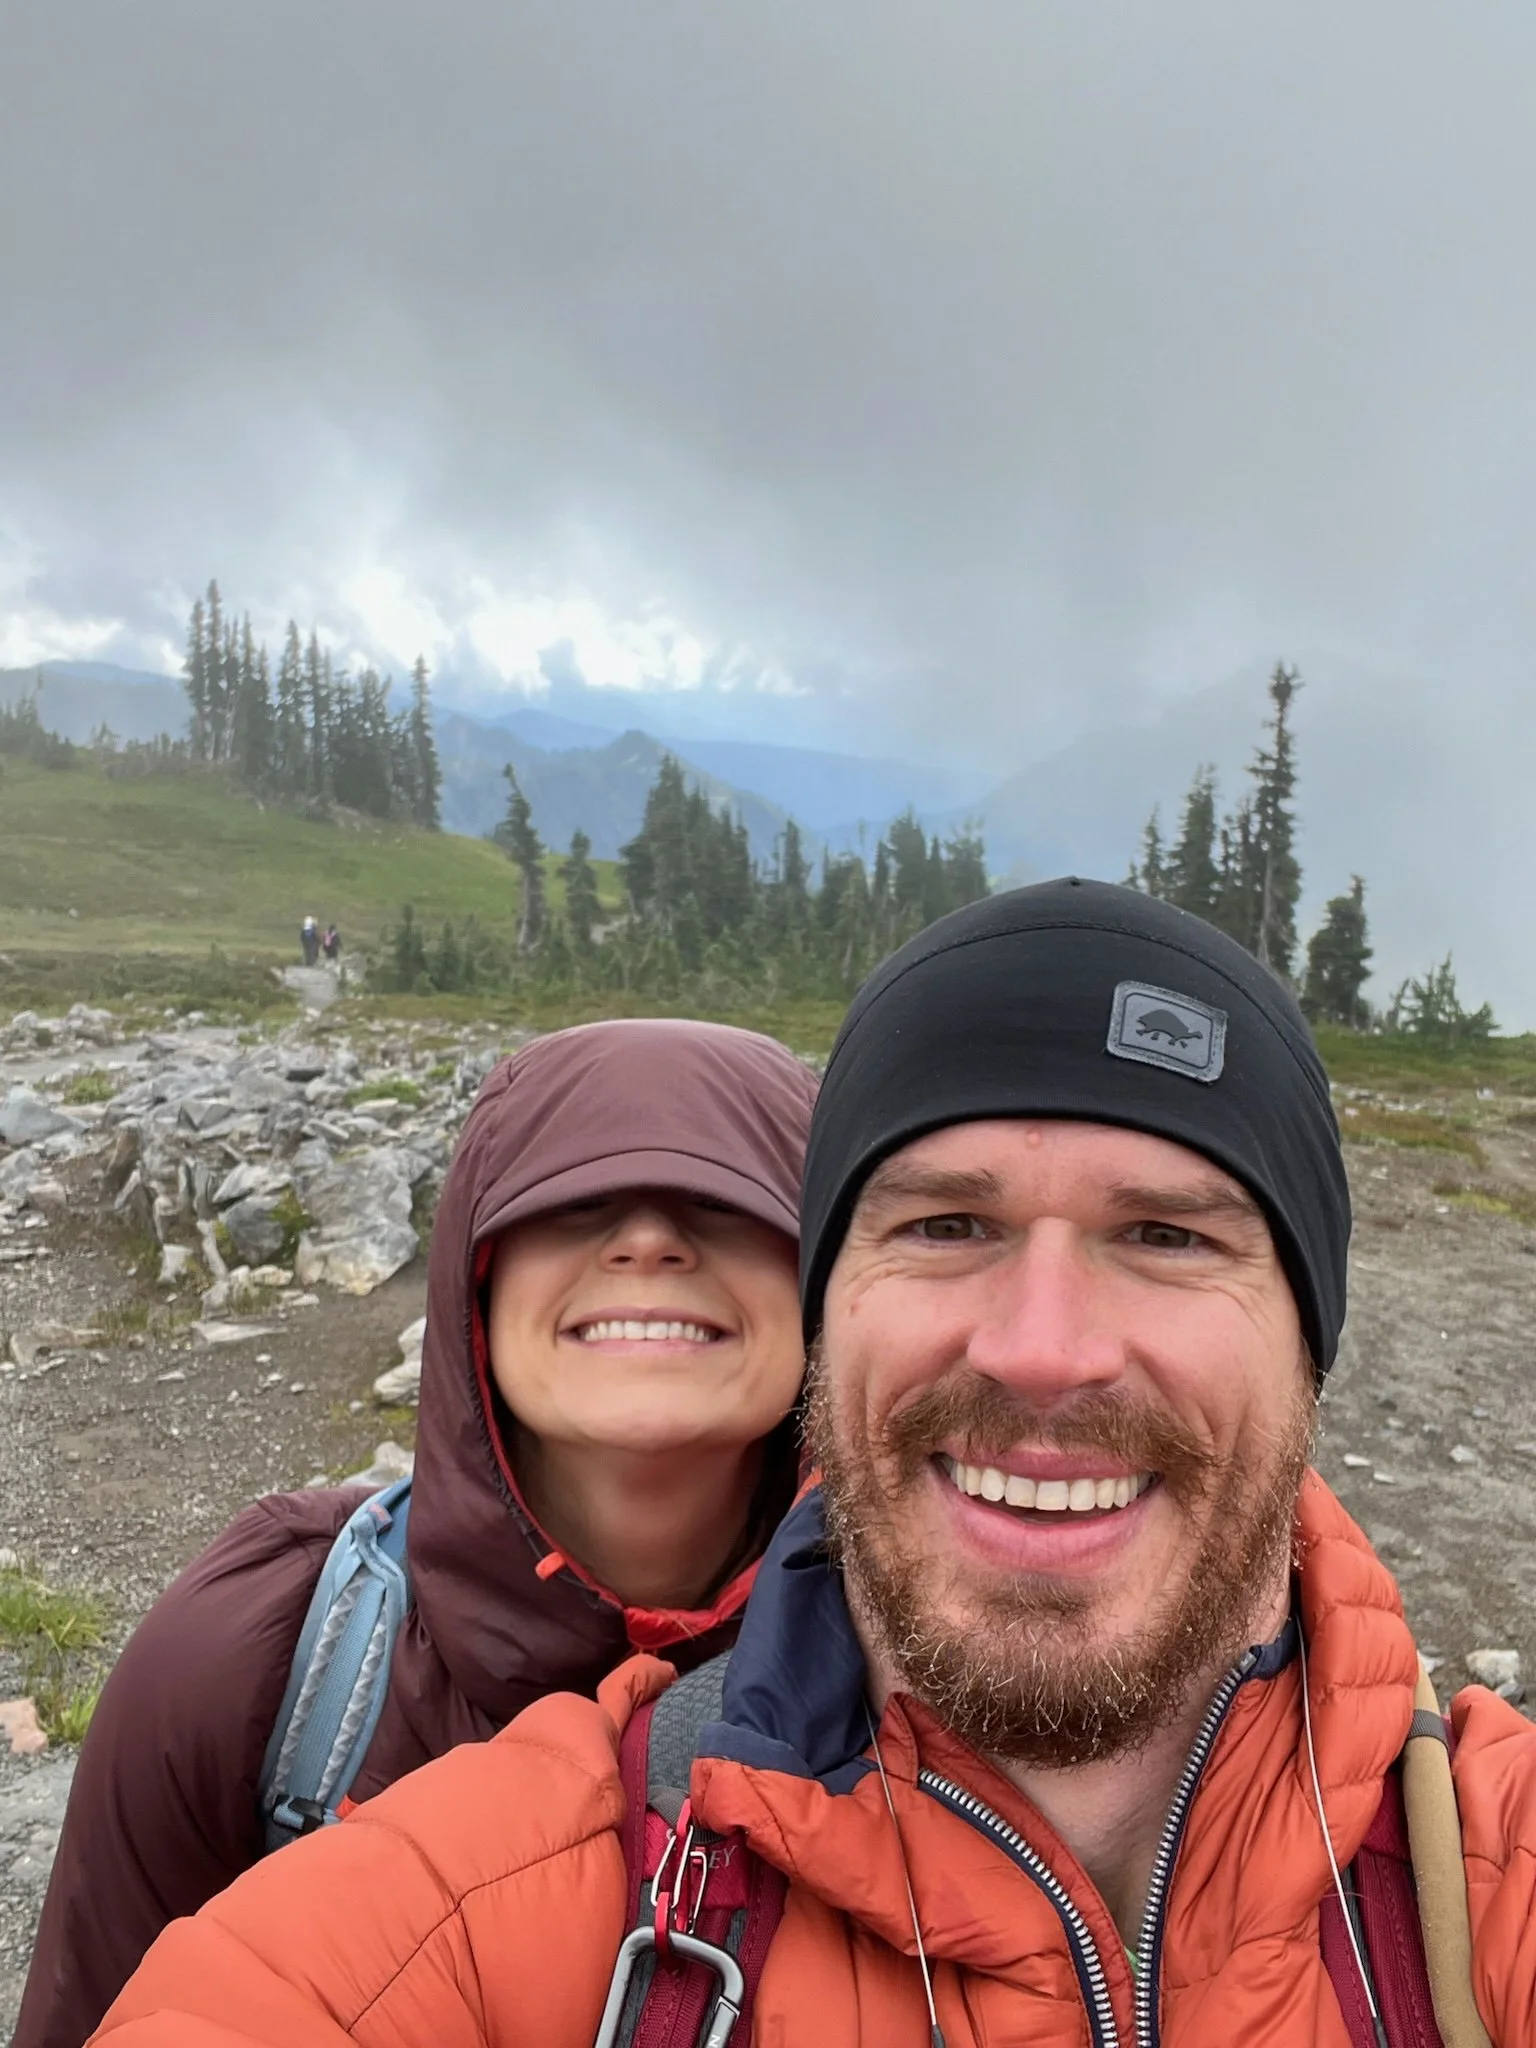
We enjoyed our time at Lake Crescent Lodge so much that we stopped by for coffee, hoping to rent a kayak for a morning ride. Sadly, the waves were too rough and the wind too strong, so instead we strolled around the area with our coffee. After that, we headed straight to Hurricane Ridge. However, if you've been following our weather luck, you know it was still cold, rainy, and windy, which meant we missed out on the most popular hike known for its stunning views of the Olympic Mountain range. Haha! This hike ended up being my least favorite, purely because of the weather! But if the skies are clear, I definitely recommend it!


💲It costs $30 per car to reach the top of Hurricane Ridge, but it's FREE with the America the Beautiful Pass.

From there, we made our way directly to downtown Seattle, taking the ferry right into the heart of the city! We stayed at a lovely hotel - Kimpton near Pike Place Market, making it easy to visit the next morning. For dinner, we had reservations at Elliott’s Oyster House to celebrate our one-year anniversary! Once again, we hoped for better weather, as we had planned to ride The Seattle Great Wheel, but unfortunately, it was still dreary. Instead, we wandered around the pier before returning to our hotel to wind down for the night.
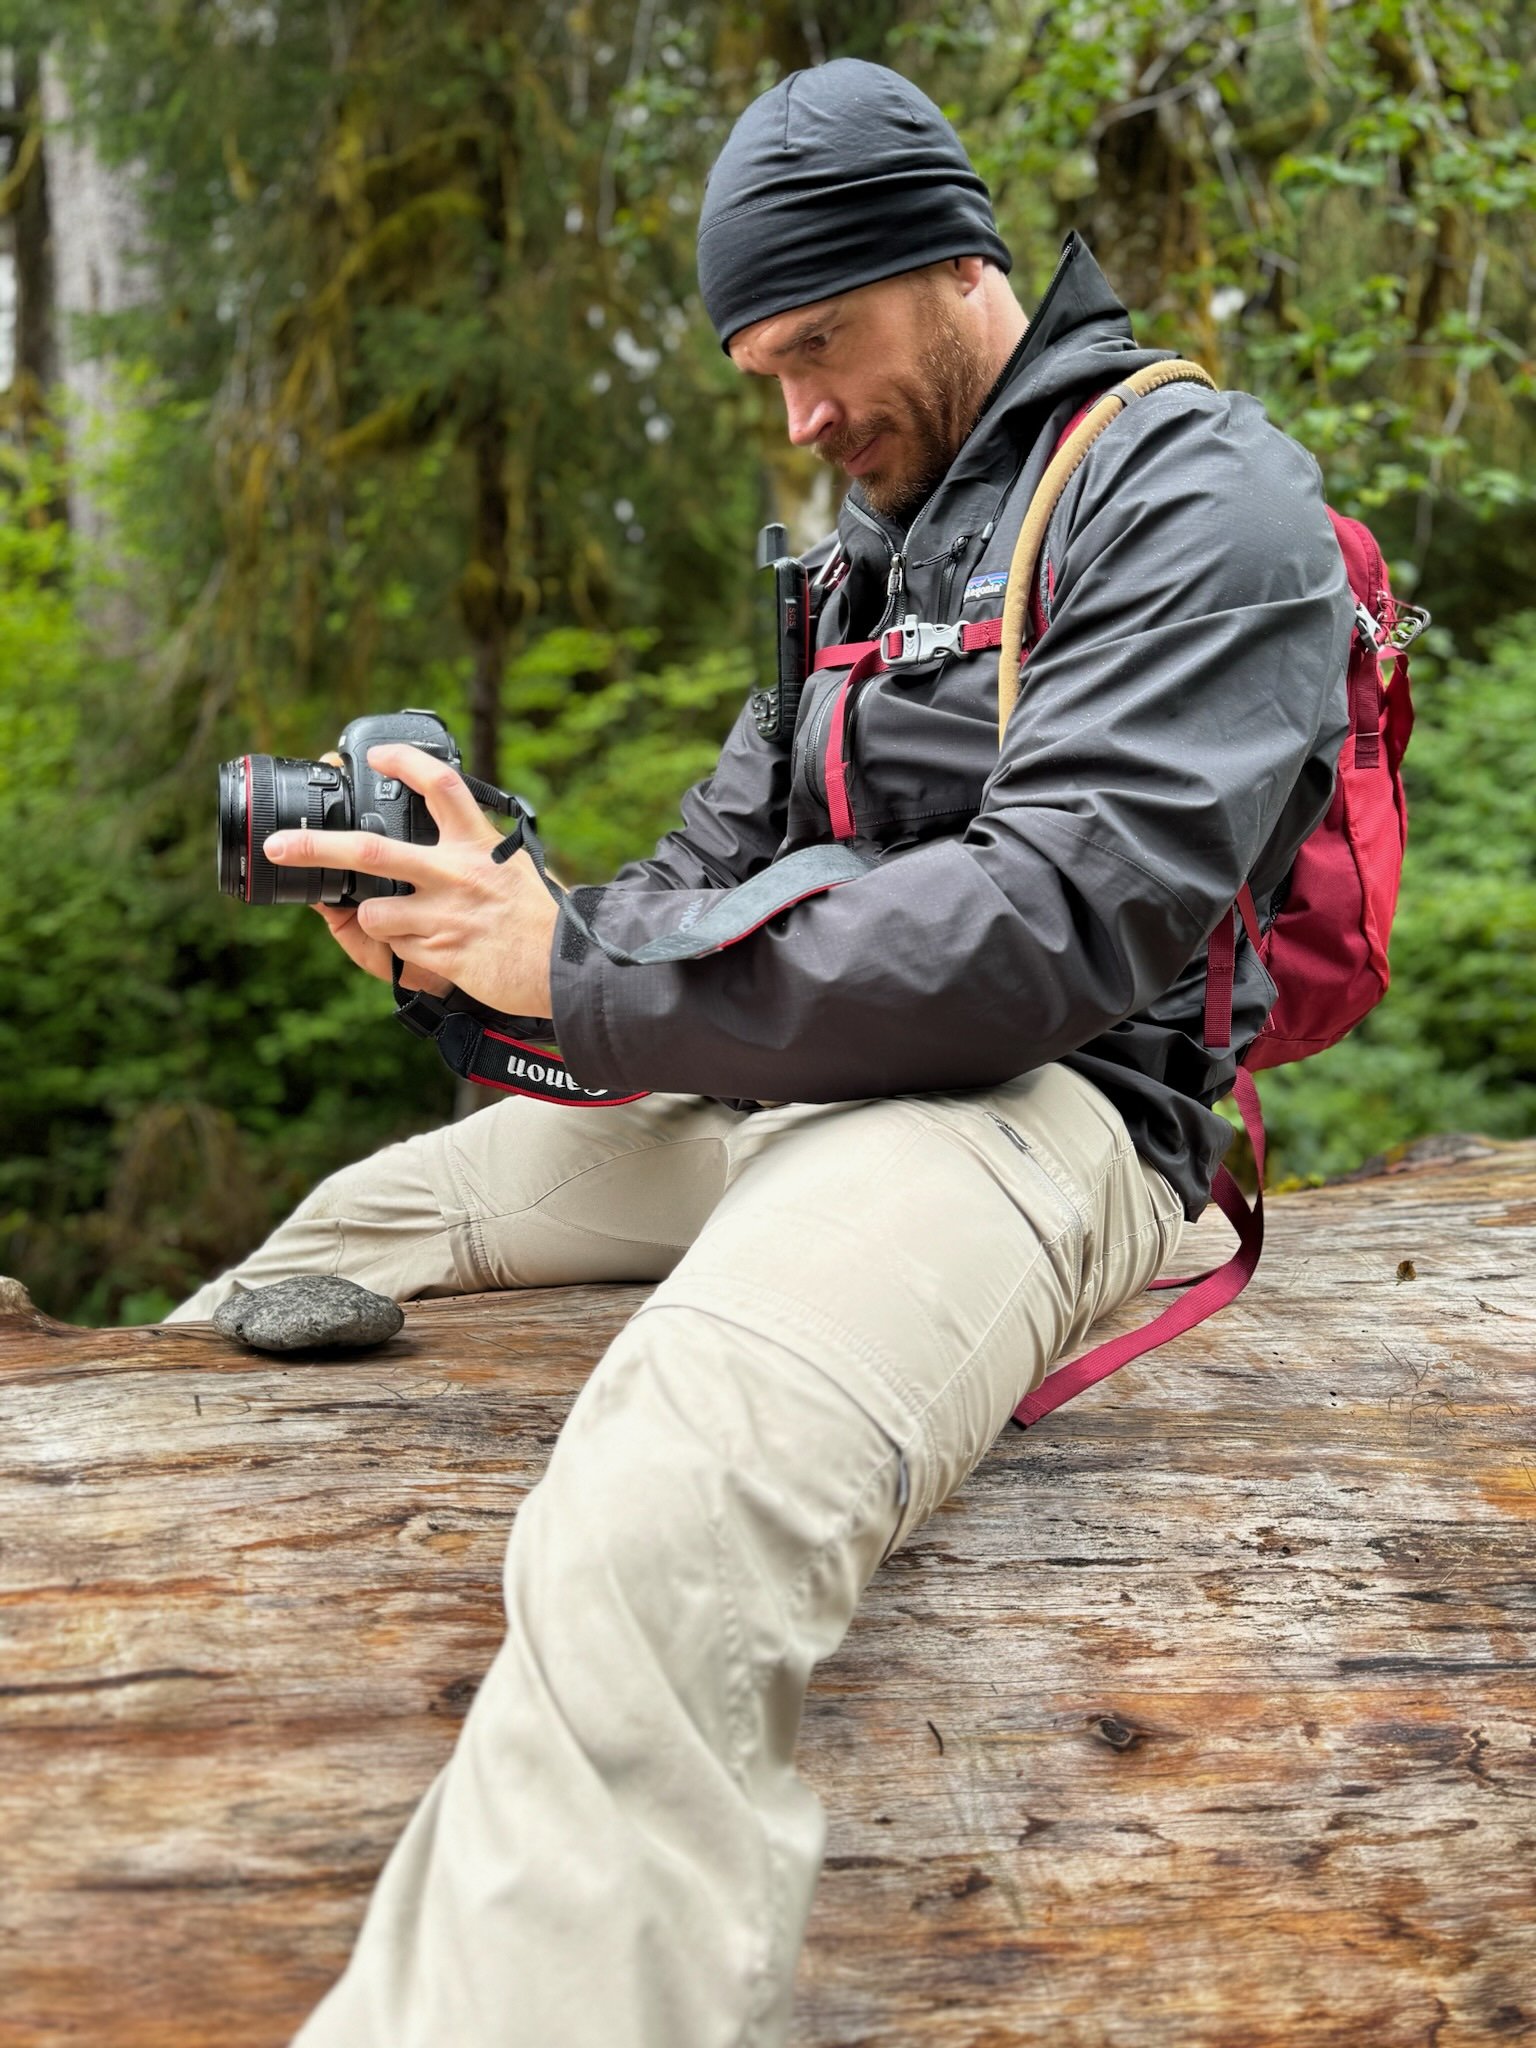
Candids


DAY 5: Exploring Seattle's Attractions and Journeying Towards the North Cascades Region
Since my partner had never visited the Pike Place Market area, we made it our first stop for coffee and breakfast. As we were heading to our new Airbnb, we decided to pick up some fresh salmon, produce, and other supplies at the market. If you want to learn more about Seattle, be sure to check out my camper van blog post here. After strolling around and enjoying more coffee and matcha, I couldn't resist stopping by my favorite spot, Frankie & Jo’s in Capitol Hill, where I indulged in a scoop each of Salty Caramel Ash and Supercookies & Cream on a gluten-free waffle cone. It truly is the best ice cream, even if you’re not dairy or gluten-free!


In the afternoon, we arrived at our Airbnb, where we made a quick grocery stop before grilling our fish and other provisions. It was absolutely delicious!
DAY 6: North Cascades Visitor Center, Lake Ann + Heather-Maple Pass Loop

During our time in the Seattle area, some locals cautioned us about potential fire closures. To be on the safe side, we visited the North Cascades Visitor Center for the latest updates. We're glad we did; there were several hikes we couldn't do, such as the Sourdough Mountain trail, so we had to revise our plans. Fortunately, the Heather-Maple Pass Loop was open, and we decided to explore that for the day.
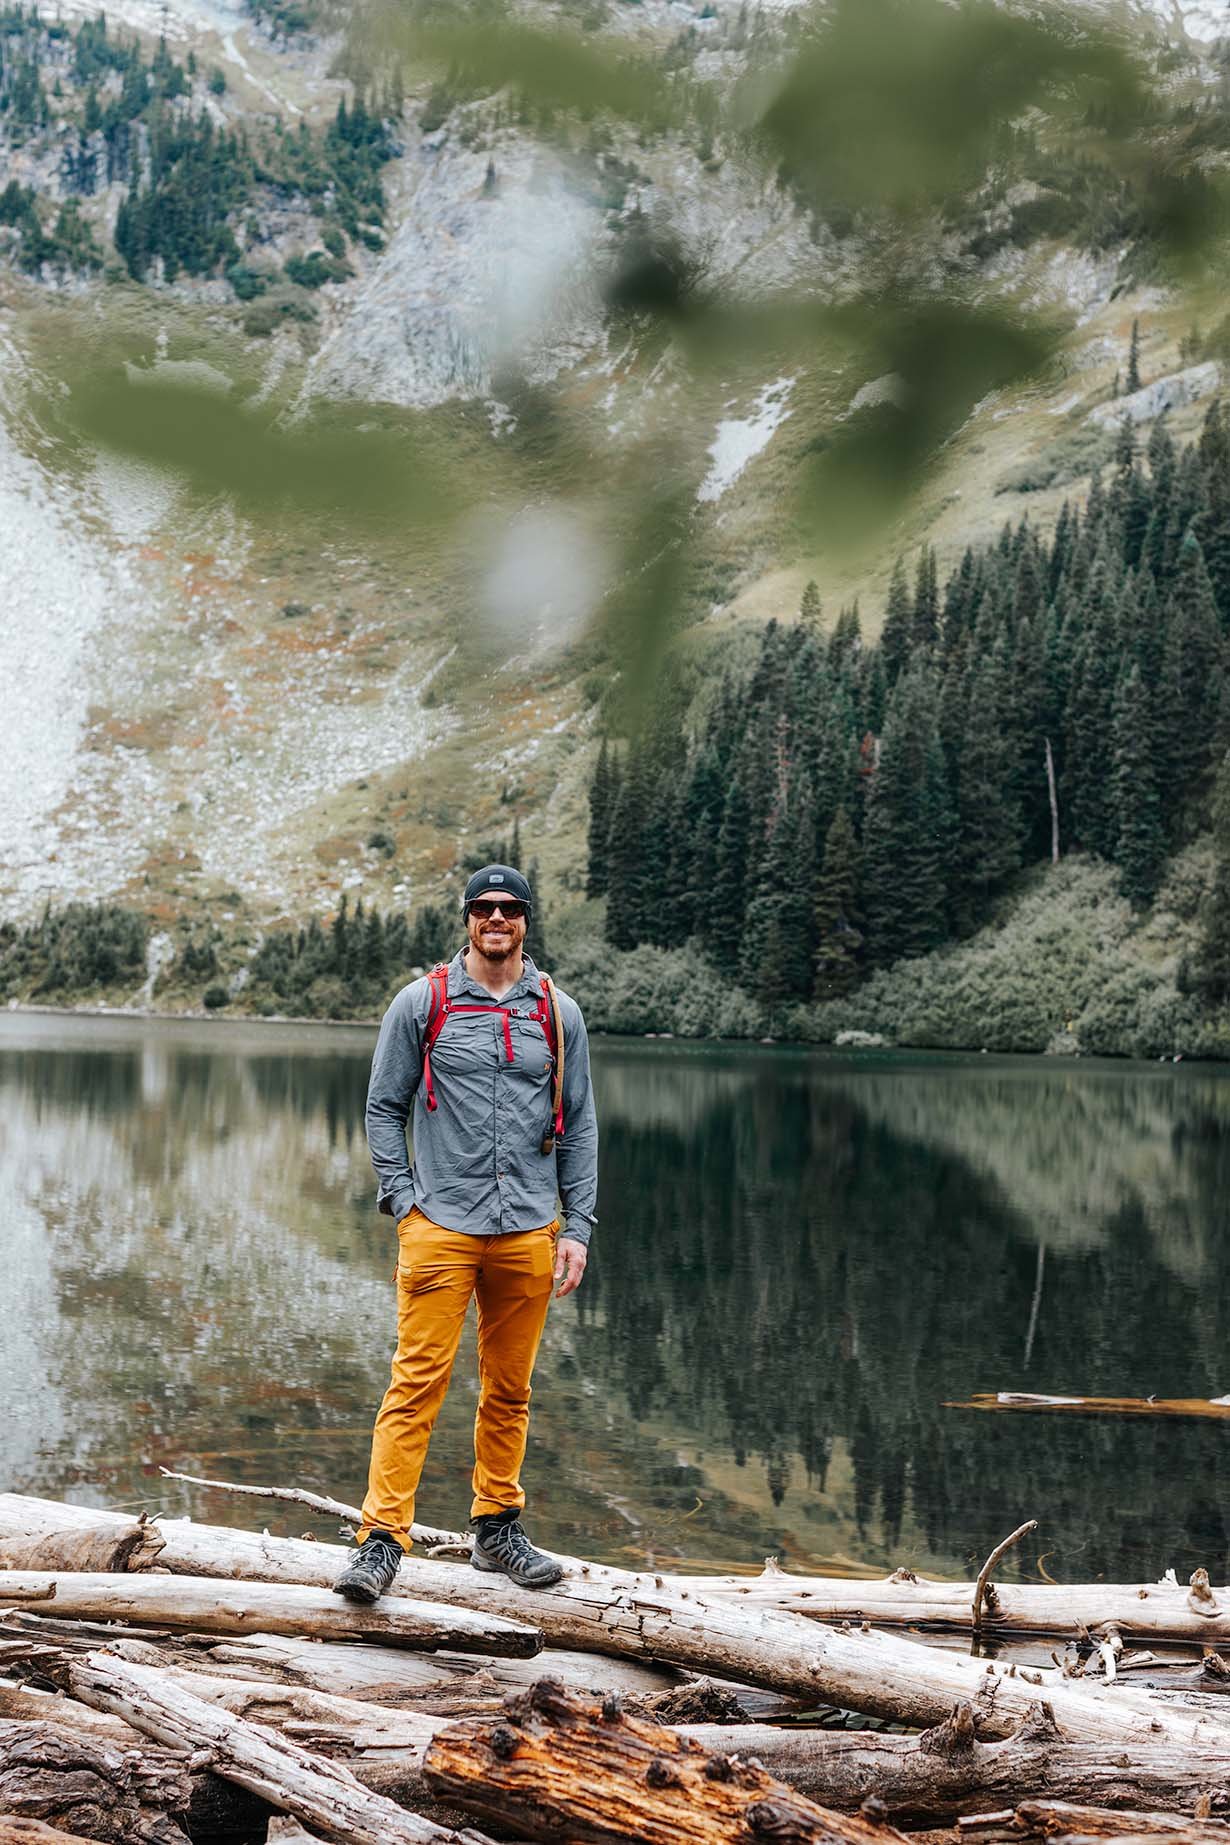


About 1.25 miles into the Heather-Maple Pass Loop, a trail veers left towards Lake Ann, a beautiful gem nestled within a talus bowl. This charming detour is a relatively flat 0.6 miles round trip. Stopping by the shores of Lake Ann provides a stunning view of the pass you’re headed to! Continuing on the main trail, this hike totals approximately 7.2 miles round trip with an elevation gain of 2,000 feet. It definitely ranks among our top hikes in Washington! The vista from the summit is breathtaking, showcasing endless mountain peaks and the lake below.


⛰️ If you hike clockwise, you can tackle the steep section of the trail early in the day, allowing for a more gradual descent later on. Conversely, a counter-clockwise hike offers increasingly dramatic views of Black Peak and North Cascades National Park as you ascend to the pass. Regardless of your choice, you will be in awe of the scenery.
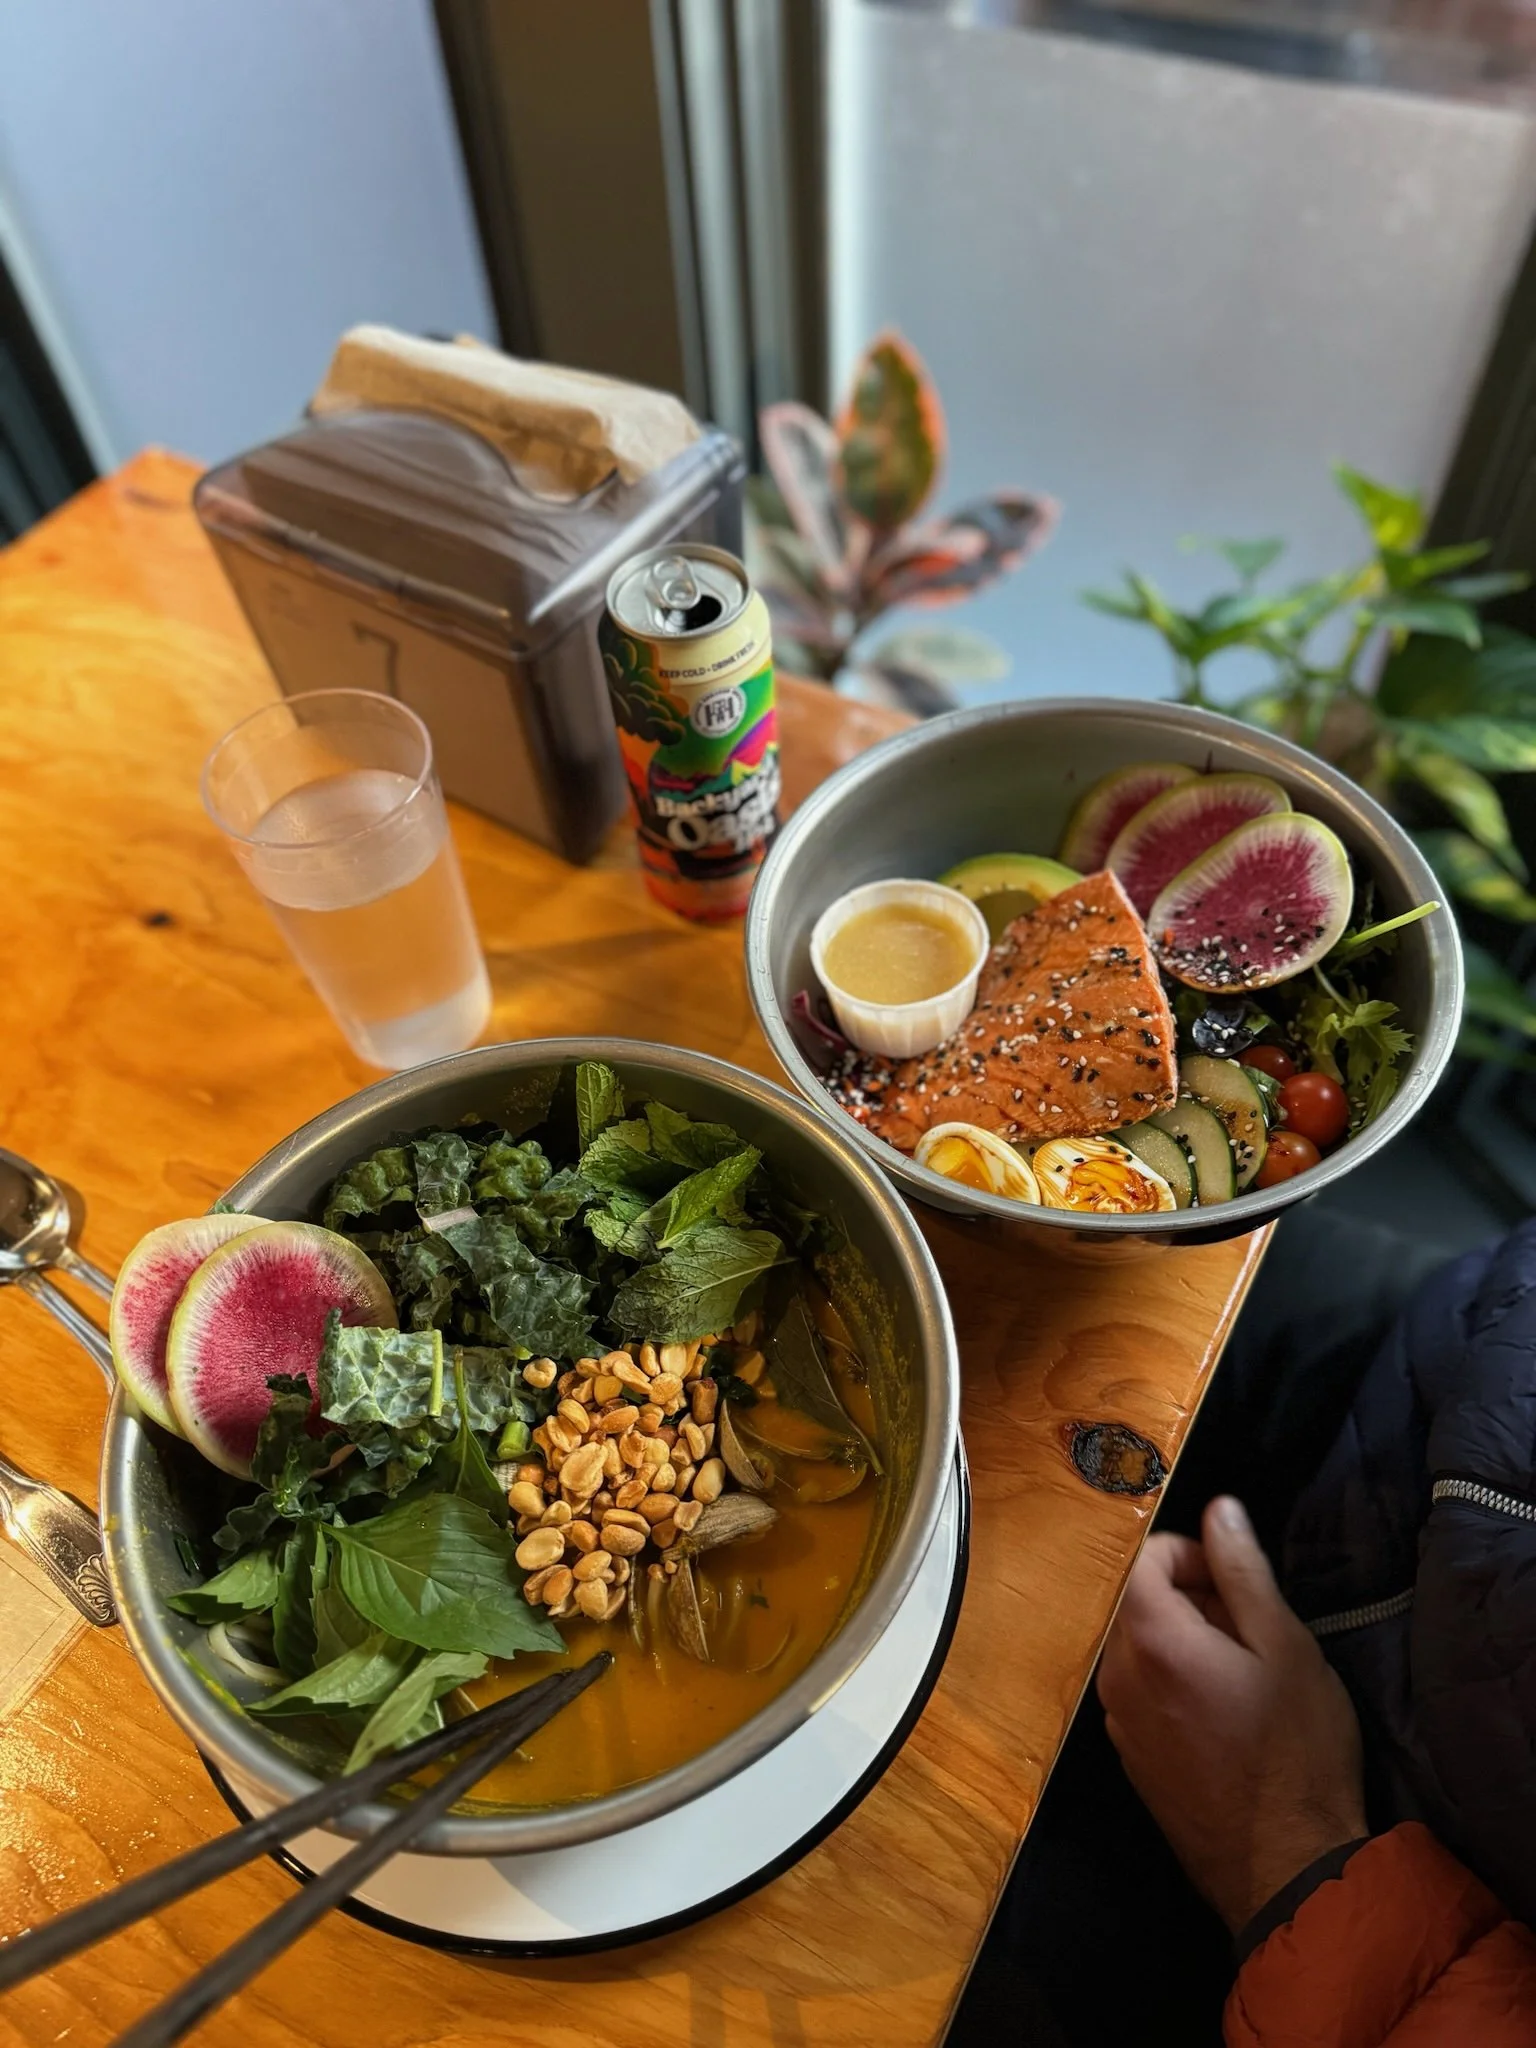
To wrap up our day, we treated ourselves to dinner and drinks at Upriver Grill & Taproom, which offers gluten-free and dairy-free options!
DAY 7: Diablo Lake Trail + driving to Mount Rainer
The day before, we visited Diablo Lake Vista Point and instantly decided that would be our destination for the following day! Bright and early, we set off on the Diablo Lake Trail. This moderate trail spans 7.6 miles roundtrip with an elevation gain of 1,300 feet. Navigating it can be a bit tricky, so here are a few tips: Look for signs along SR 20 that lead to the road crossing the top of Diablo Dam. Cross the dam and follow the access road to the parking area near the trailhead. We hoped to time our hike to catch a ride on the Diablo Lake Ferry, but we missed it. If you're aiming for that, try to arrive a few minutes before 9 AM or 3:30 PM.


After our hike, we drove through the park, stopping at various overlooks and lakes before heading down to Mount Rainier!


candids


DAY 8: Paradise (South Side) - Skyline Trail Loop, Narada Falls + Pinnacle Peak Trail
☑️ Starting in 2024, timed entry reservations will be mandatory during peak seasons. From May 24th to September 2nd at select locations and peak times, a reservation will be required. Make sure to secure your reservations and find out more before your visit.
We kicked off our first day at Mount Rainier by exploring one of the park's most popular trails - The Skyline Trail. This 6-mile round trip offers an elevation gain of 1,794 feet. Numerous trails branch off from the Skyline Trail, making this area perfect for a full or half-day adventure! Unfortunately, the weather wasn't in our favor; however, on a sunny day, you can expect breathtaking views of majestic mountains and Paradise Valley.


After our hike, we enjoyed lunch at the Paradise Guest Service station located in the parking area, which offers cafeteria-style meals. *Gluten-free and dairy-free options are available!
Known for its stunning waterfalls, we made a stop at Narada Falls, where we were treated to a beautiful rainbow. To get there, drive 14 miles from the Nisqually Entrance to a designated viewpoint and parking area. Follow the short trail for amazing views!
Eager to fit in one last hike before heading to our Airbnb, we tackled the Pinnacle Peak Saddle Trail, which is a 2.4-mile round trip with a 1,056-foot elevation gain. It’s a good workout, but the views at the top – including Mount Rainier, Mount Adams, the Nisqually River Valley, and Reflection Lake – make it all worthwhile!


For dinner, we stumbled upon a charming and somewhat unexpected Ukrainian restaurant, where I had the pleasure of trying borscht for the first time!
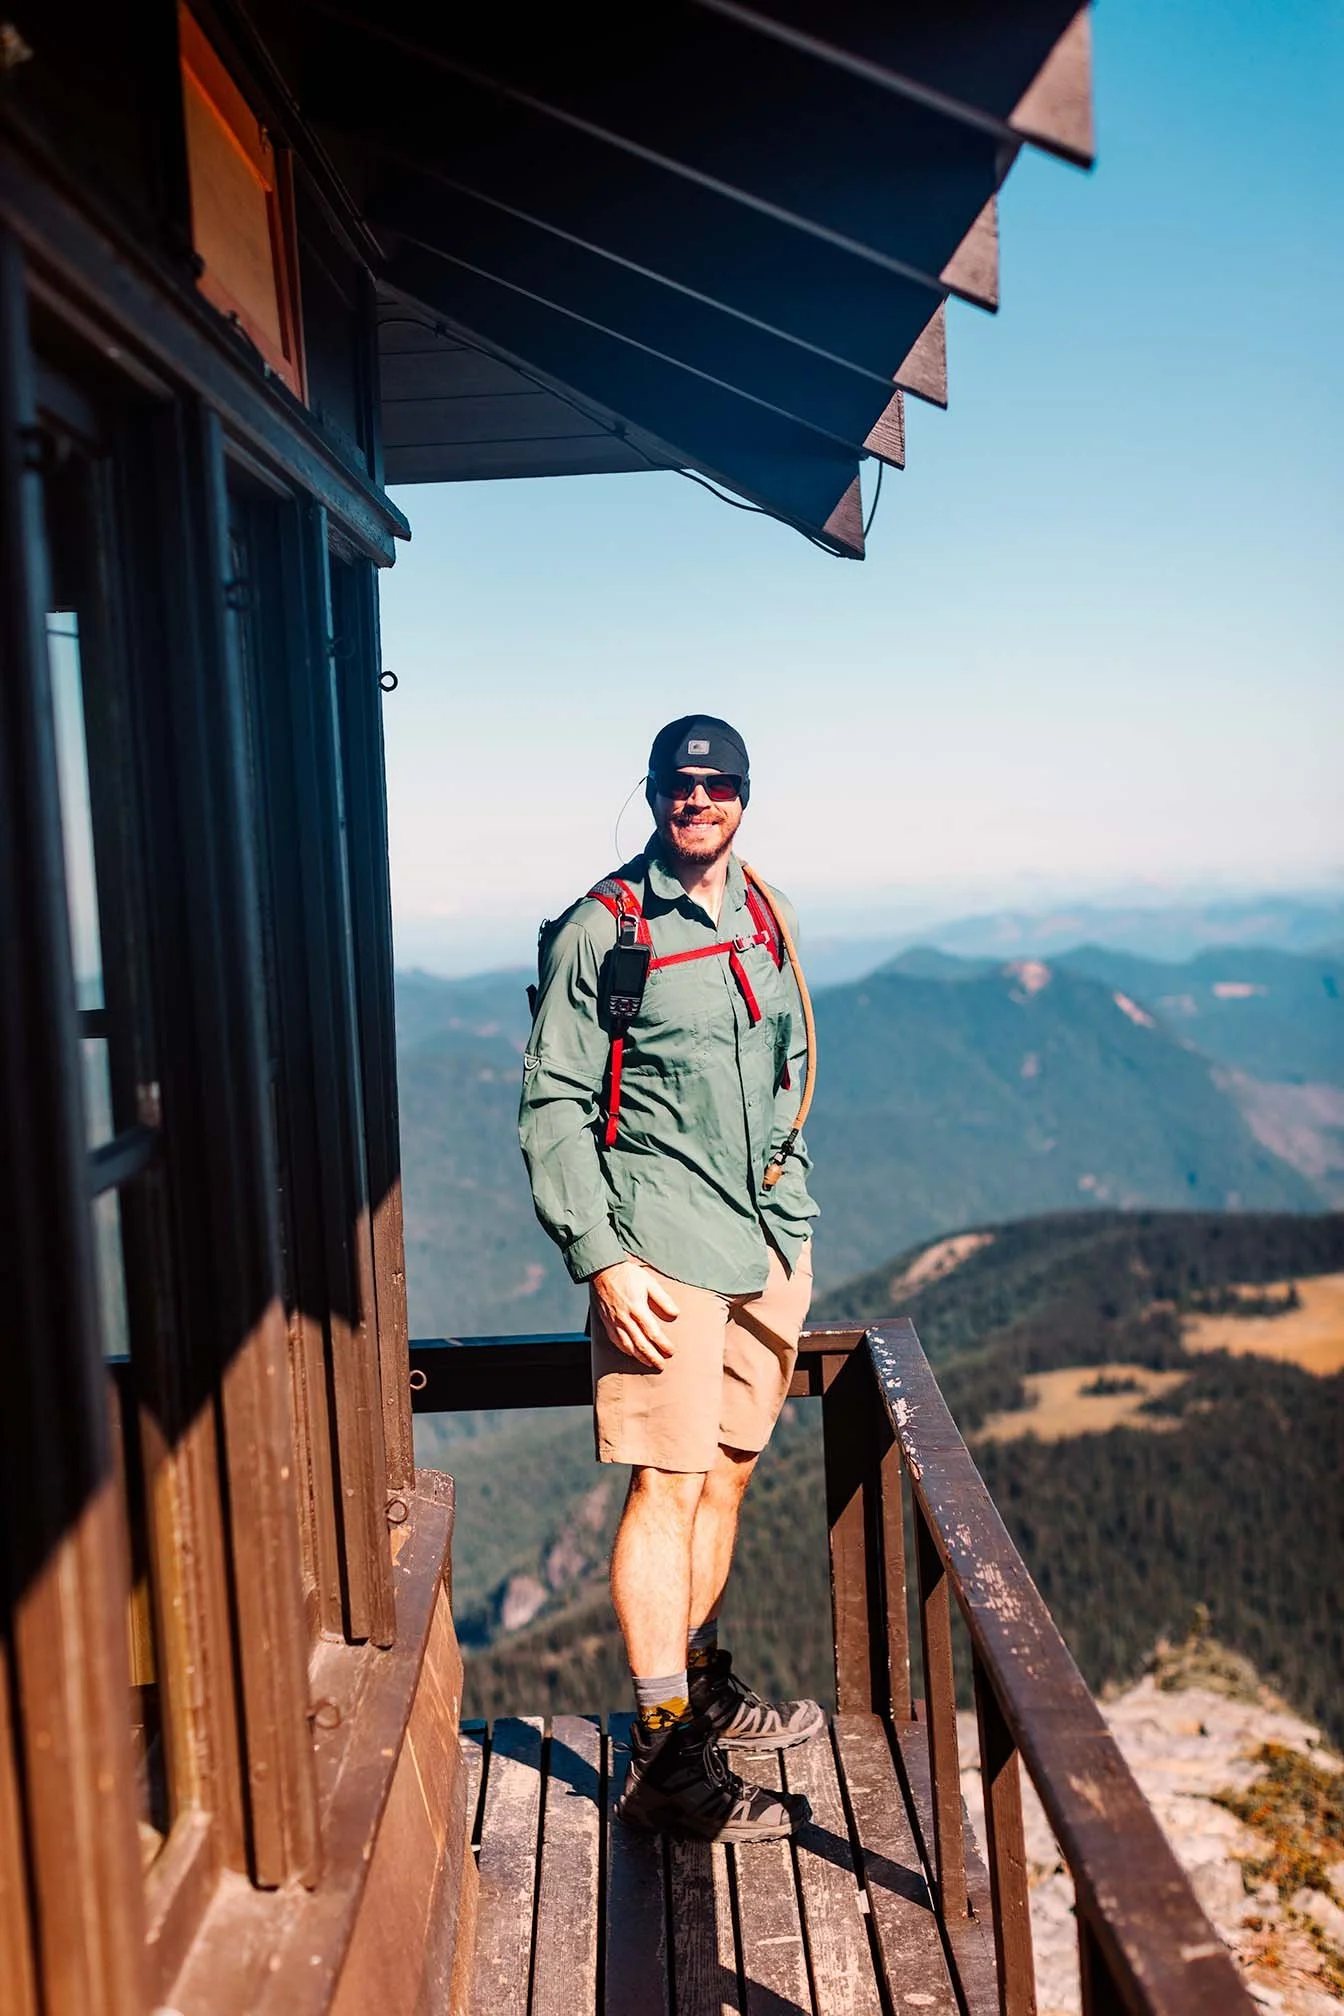
DAY 9: (Sunrise area) - Mount Fremont Fire Lookout, Burroughs Mountain Trail + Sunrise Rim Trail + (Paradise area) Skyline Trail Loop redo + Reflection Lake
This day was another long one, but since it was our last full day, we had to make it memorable! As a former firefighter, I couldn't miss the chance to conquer the Mount Fremont Lookout! Spanning 5.7 miles with an elevation gain of 1,151 feet, this hike quickly became a personal favorite. It begins on the Sourdough Ridge Trail and branches off to the Mount Fremont Trail, just beyond Frozen Lake. We took some time to explore the Mount Fremont Lookout, built in 1934 to monitor the forest for wildfires.


Since this hike shares the Burroughs Mountain Loop Trail, we decided to merge the two with just an additional 2.6 miles of hiking. The Burroughs Mountain trail itself is 9.4 miles long, featuring a 2,562-foot elevation gain. At the third Burroughs, we paused for a snack break and were delighted by the company of chipmunks. We then made our way back towards the Sunrise Rim Trail, which led us directly to the Sunrise Parking Lot.


As you can imagine, after covering roughly 15 miles before 1 PM, we were both exhausted and hungry! Unfortunately, the visitor center at the Sunrise parking area offered only concession-style food, so we headed back to the Paradise area for a proper meal. This worked out perfectly, as my partner wanted to tackle the Skyline Trail Loop again with the clear skies, while I ventured toward Reflection Lake to “reflect” on our trip! We both concluded our day with stunning views, enjoying the ideal hikes that suited us as individuals to wrap up our adventure!


candids


Our Best Tips from Visiting Washington's National Parks
Plan in Advance
Each park has its own set of rules, pricing, and reservation processes, so it’s essential to plan ahead! For example, since Mount Rainier is the most popular of the three parks, I realized we would need reservations. Be sure to visit each National Park's website for the latest information and resources!
Check Weather Conditions
Before heading to the Pacific Northwest, it’s wise to manage your expectations regarding rain and cloudy days. During our ten-day trip (the last day was for travel), we enjoyed perfect weather on about three days, even though we visited at the peak summer season. While summer months offer the best opportunities to see stunning viewpoints, remember that the weather is unpredictable. Be sure to plan for it by packing appropriate rain and winter gear, even in summer! Learn from my experience and avoid making a last-minute stop at REI in Seattle for better rain gear!
Provisions
Always ensure you have plenty of food, snacks, and water. As someone who is gluten and dairy-free, I encountered few issues finding suitable options, except around Mount Rainier. However, to be prepared, I always brought extra provisions in case we found ourselves in areas without accessible food. Staying in Airbnbs at all three national parks was incredibly beneficial; we usually enjoyed breakfast there and packed lunches and snacks for our hikes throughout the day.
Note: Feel free to visit my Amazon storefront for all your hiking gear and food needs!
Download Offline Maps
While we didn't encounter significant issues without offline maps, having them would have simplified our experience. Additionally, it's worth mentioning that we used a Garmin device, which proved to be invaluable since many parks and the roads leading to them have limited cell reception.
💬 I hope you found this guide on a 9-Day Adventure Through Mount Rainier, Olympic, and North Cascades National Parks in Washington to be helpful! Feel free to share your thoughts, tips, or experiences at these parks in the comments section below!